HOW TO CROCHET A SLIP KNOT (video tutorial)
The slip knot is the most common foundation crochet stitch. Most crochet projects use the slip knot and build onto it with other crochet stitches.
HOW TO CROCHET A SLIP KNOT (with step-by-step photos)
These close up photos show you how to use the end tail of your yarn and crochet hook to create a slip knot.
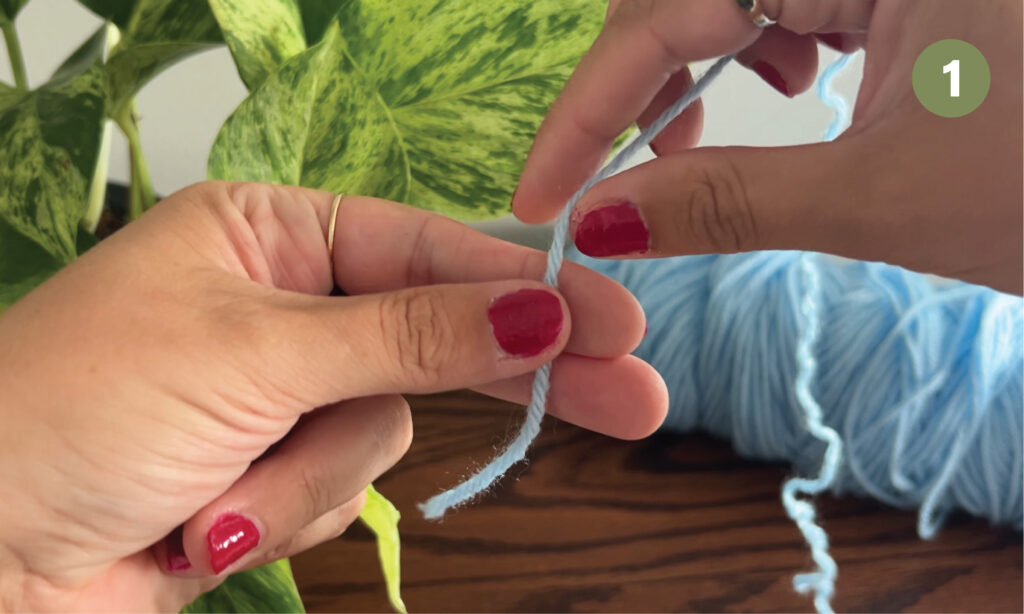
Grab the end tail of your yarn. Place it in front of your two fingers with the tail facing downward. Hold it with your thumb.
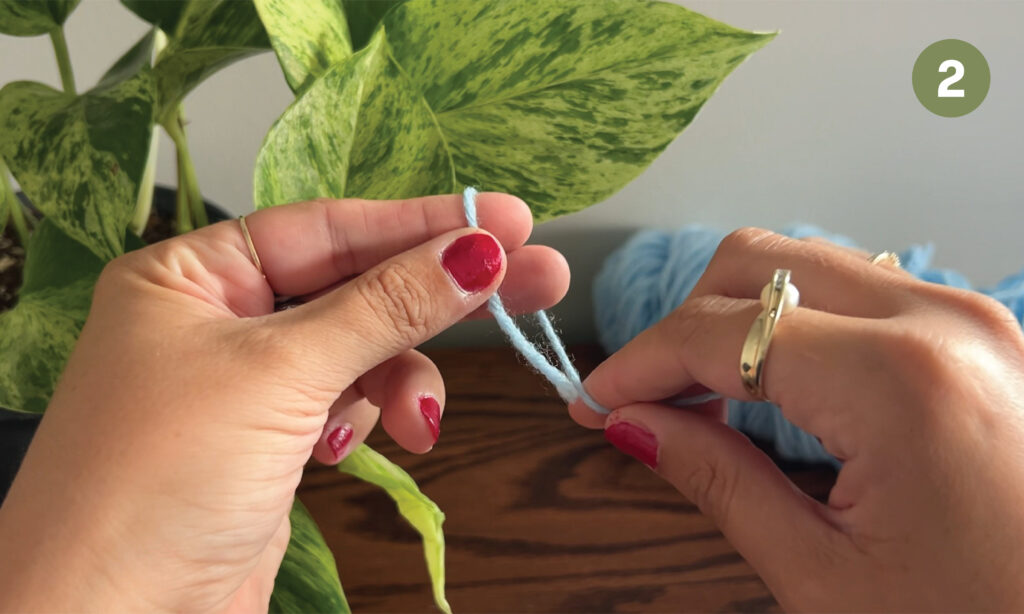
Wrap the yarn around the backside of your two fingers.
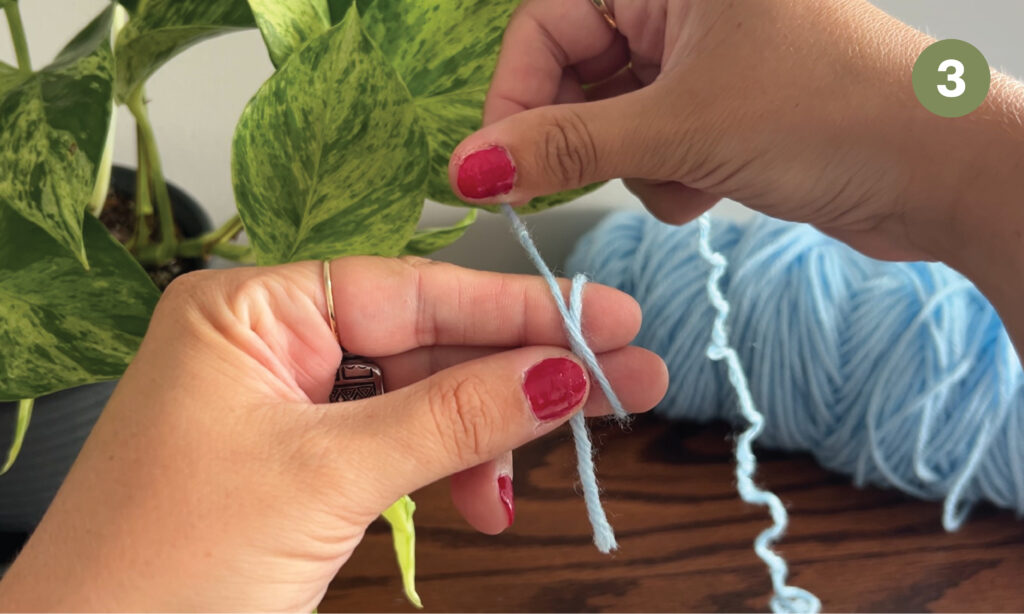
Bring the yarn to the front side to create a X.
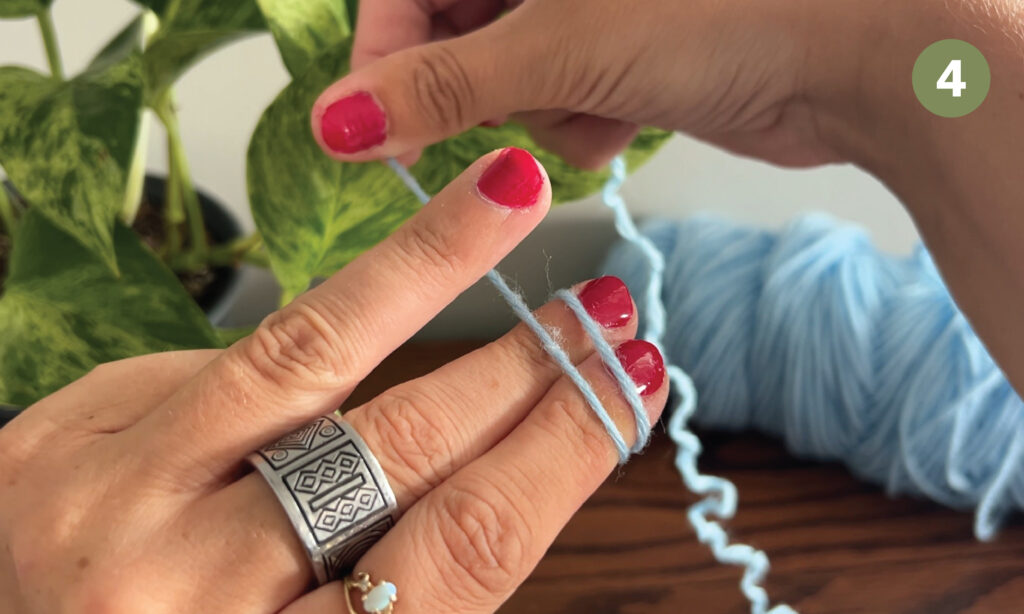
On the backside of your fingers, the yarn should not cross, but remain almost parallel. Hold the strand with your ring finger.
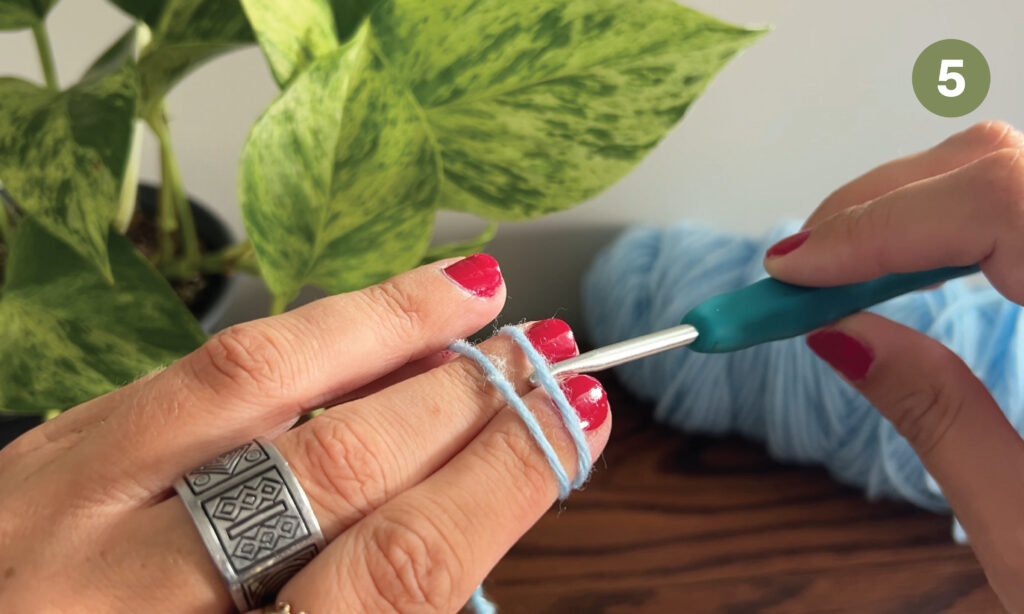
Tuck your crochet hook under the first yarn strand.
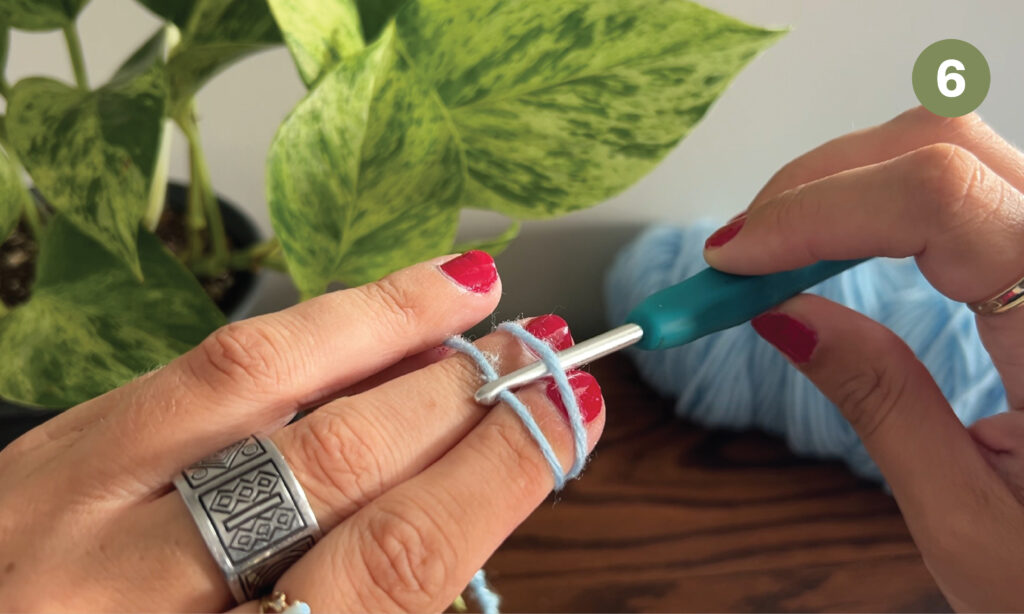
Lift your crochet hook over the second yarn strand. Hook your crochet hook onto that second strand and pull through the first yarn strand lightly.
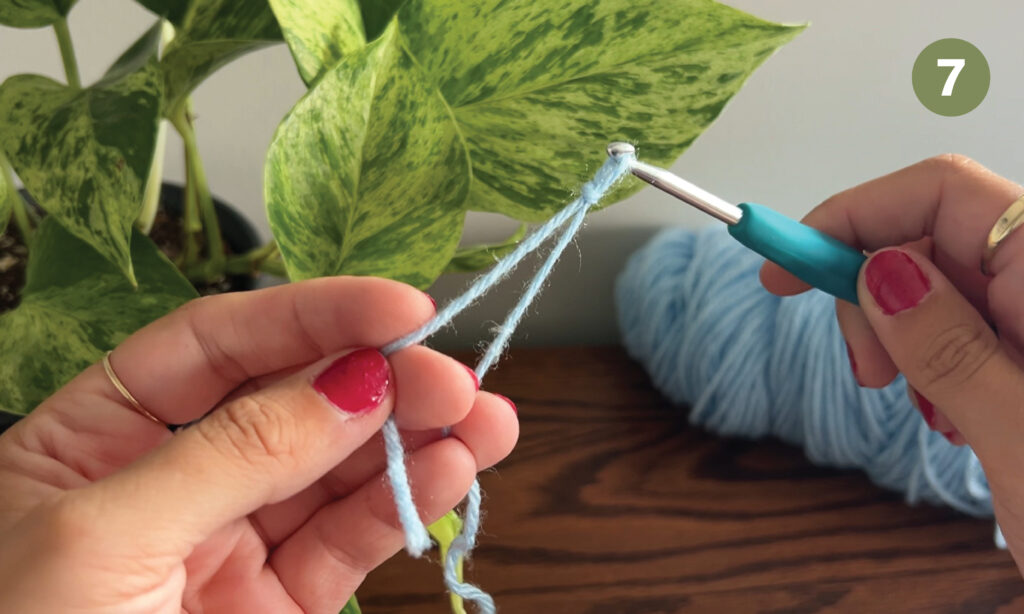
And you have successfully completed a slip knot!
CROCHET PATTERNS WITH THE SLIP KNOT
Browse my free crochet patterns that use the slip knot. The beginner-friendly patterns walk you through each step of the project with helpful photos and videos to guide you through each step.
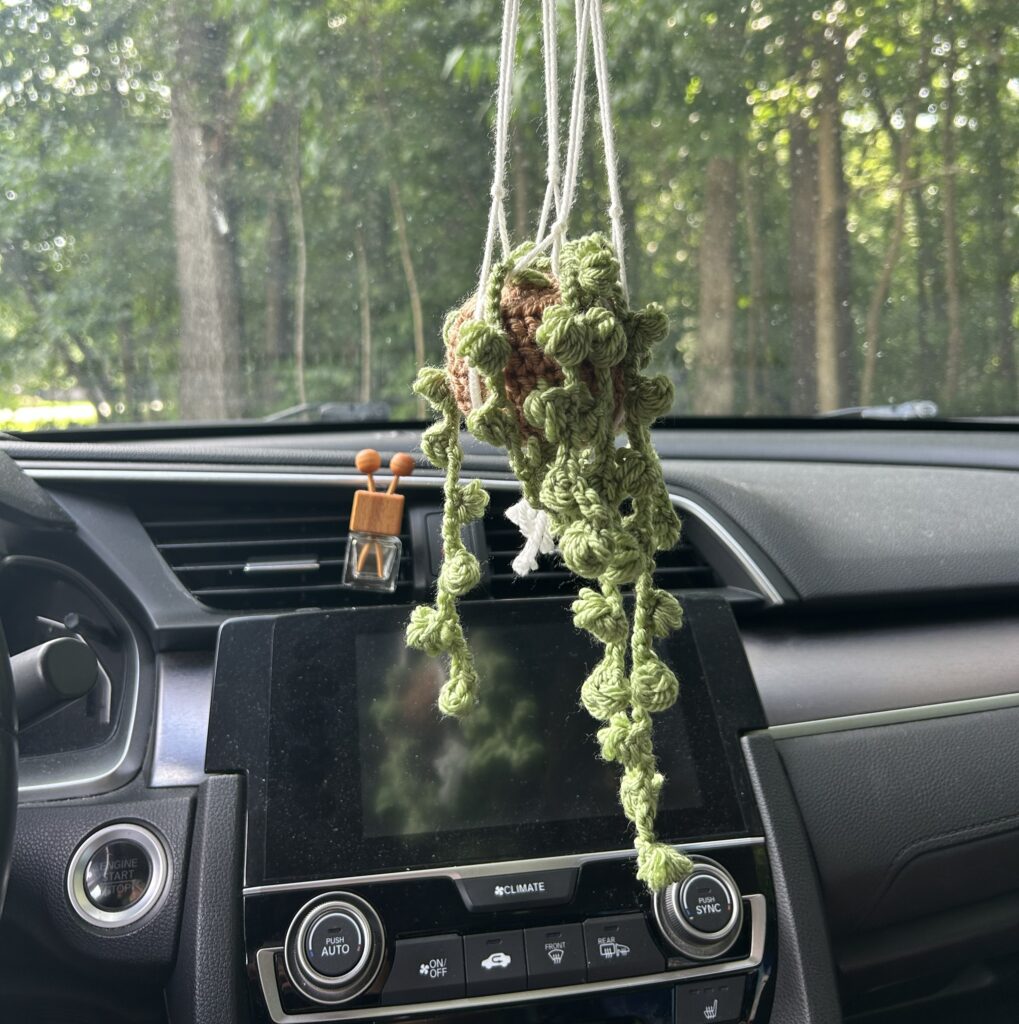
Crochet String of Pearls
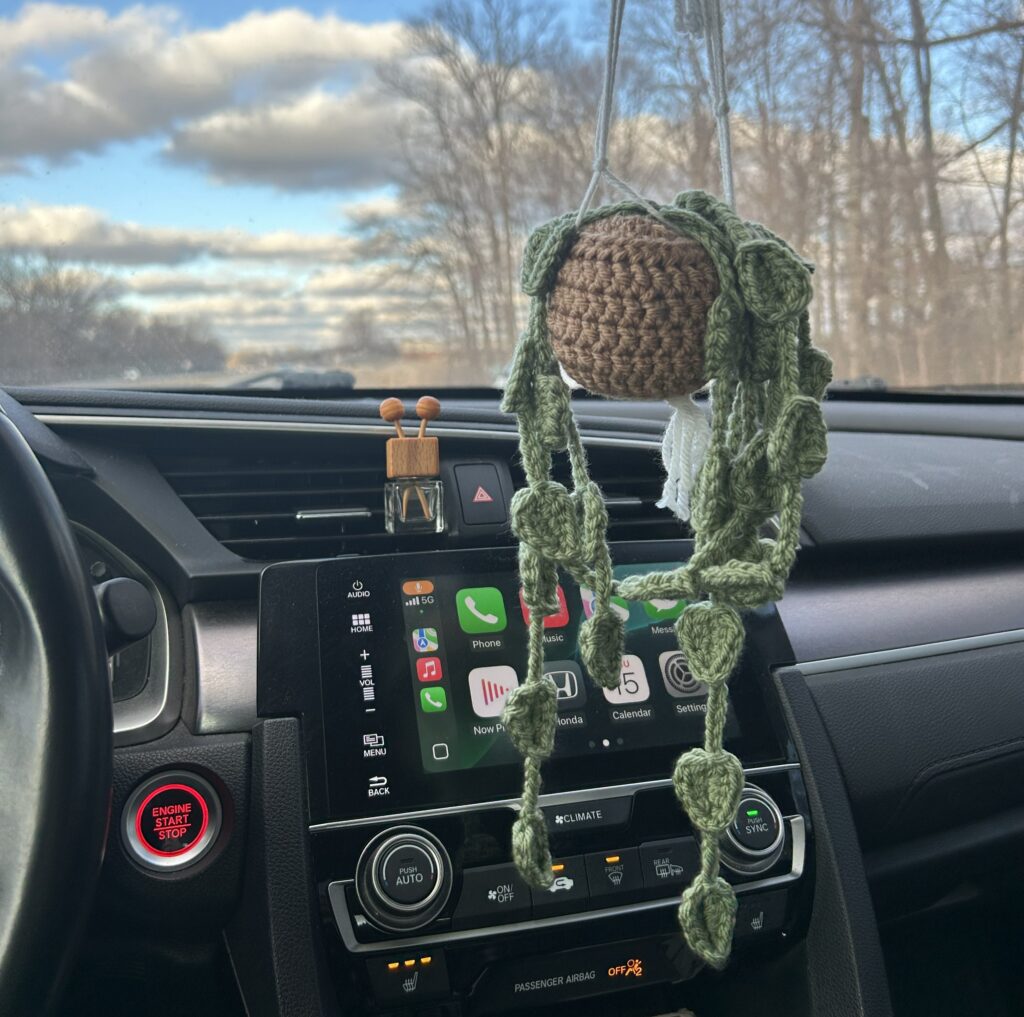
Crochet String of Hearts
Crochet String of Pearls
Crochet String of Hearts