






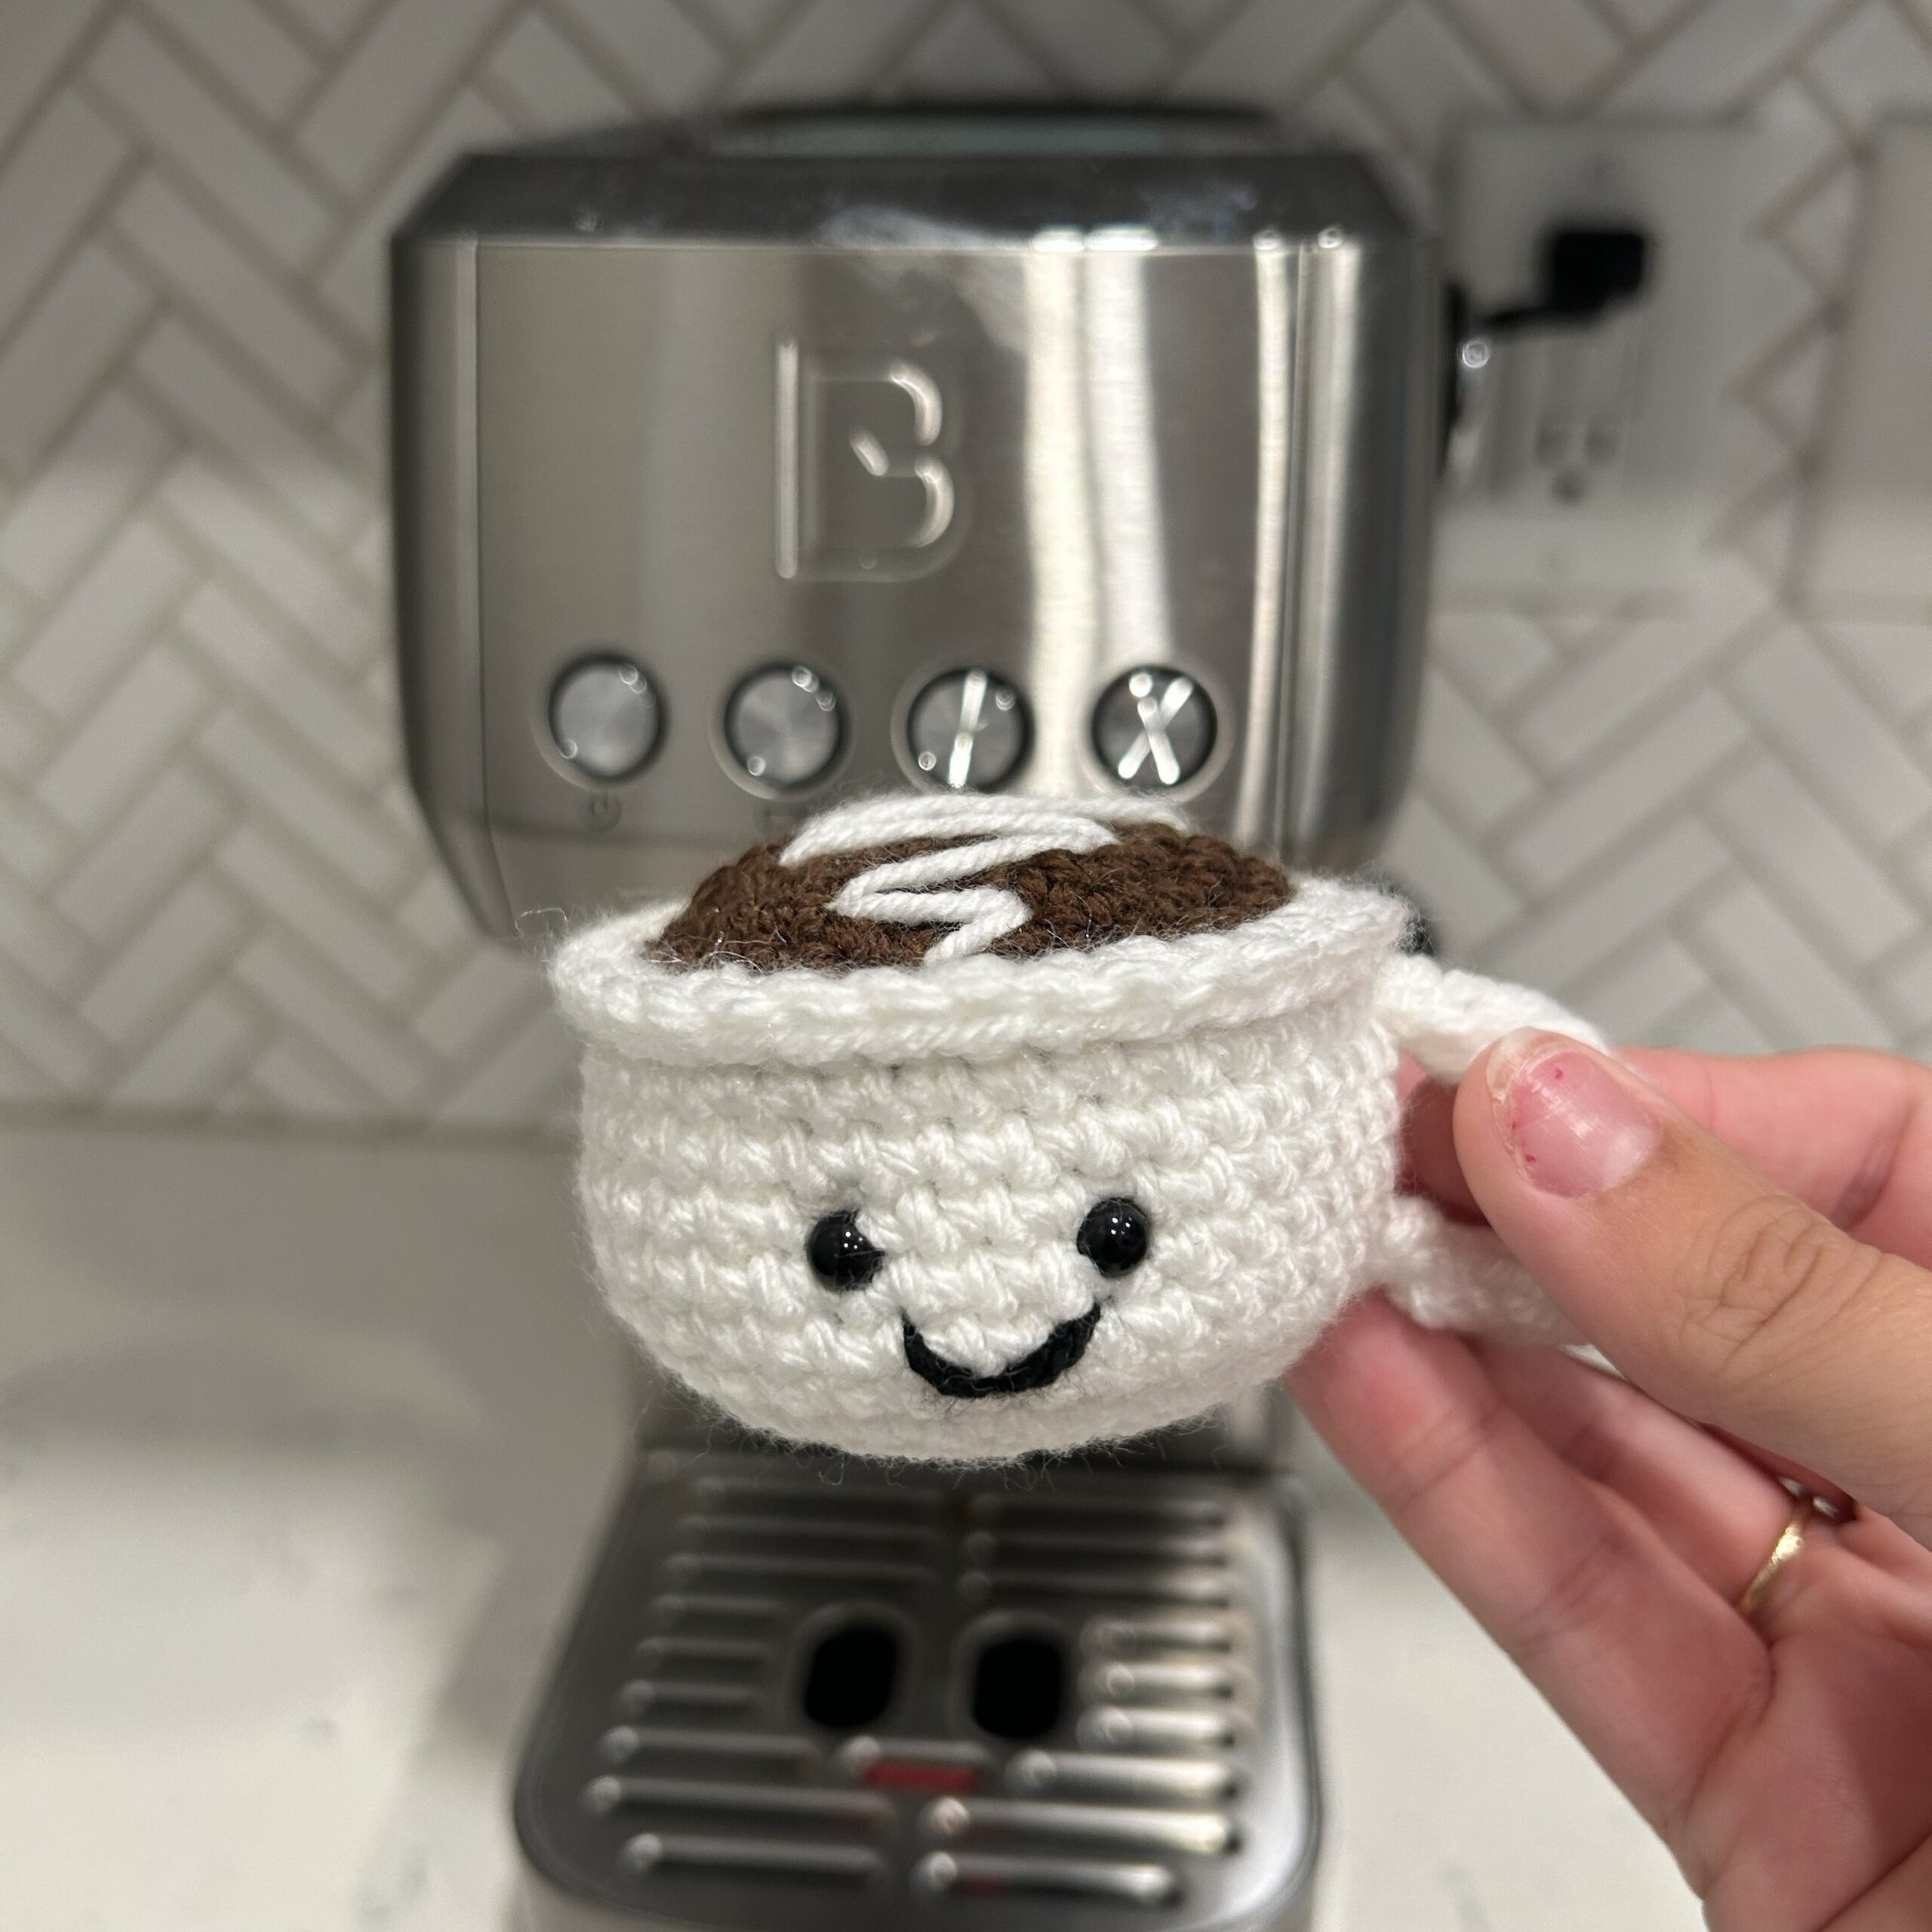

Create your own amigurumi crochet coffee cup! This step-by-step, free crochet pattern walks you through creating a crochet coffee cup with helpful videos and pictures in the detailed instructions. You can purchase the ad-free pattern here and watch the video tutorial here.
This pattern is great for beginner and intermediate crocheters. You can gift this crochet coffee cup to a friend, display on your shelf, or sit by your coffee pot as cute crochet decor.
This is a fun crochet pattern because you can truly make the drink your own. For this pattern, you will see the pictures use a light brown yarn to make the coffee cup look like a chai tea or coffee that has a lot of creamer as the drink inside the cup. You can use light brown yarn for a chai latte, dark orange yarn for a pumpkin spice latte, green yarn for a matcha latte, or dark brown for black coffee. The options are endless.
Table of Contents
Crochet Coffee Cup Video Tutorial
Pattern Information
Skill Level
Time to Complete
Materials
Crochet Abbreviations
Finished Size
Pattern Notes
Crochet Coffee Cup Pattern
Coffee Piece
Cold Foam Design
Handle
Mug
Attaching Mug and Handle
Attaching Safety Eyes
Attaching Mouth
Attaching Coffee Piece to Mug
Stuff Your Mug
Congratulations
Crochet Coffee Cup Video Tutorial
Want a visual guide? Check out my crochet coffee cup pattern on YouTube, complete with timestamps so you can jump straight to any step!
Pattern Information
Skill Level
Beginner / Easy
Time to Complete
Approximately 3.5 hours
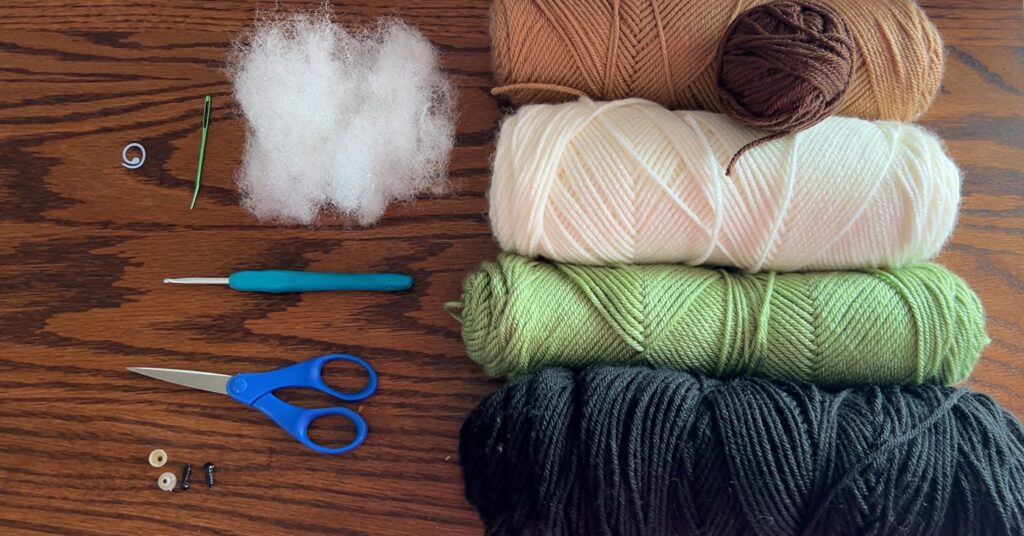
Materials
Click the links to purchase the items!
4mm Crochet Hook
Polyfil Stuffing
Scissors
Size 4 Yarn: I love this yarn brand in colors:
10 White (Mug, Foam and Handle),
140 Mild Green (Matcha),
150 Toasted Almond (Chai)
220 Coffee (Coffee)
30 Black (Mouth)
Stitch markers
Darning needle
Measuring tape
6mm Safety eyes
by Creative State earns commission on tagged products.
Crochet Stitch Abbreviations
Watch this video tutorial to learn the basic crochet stitches!
MR: Magic Ring
SC: Single Crochet
INC: Increase Stitch
FLO: Front Loop Only
SLST: Slip Stitch
CH: Chain Stitch
Finished Size
Overall: 4″ x 2.5″
Pattern Notes
1. This pattern is worked in US terms
2. Italics tell you what color you should be using
3. Anything in parenthesis () should be worked continuously within the round
4. Stitches are separated by commas ,
Crochet Coffee Cup Pattern
Coffee Piece
With yarn you are using as the drink color, in this case, 150 Toasted Almond,
Round 1: SC 6 into MR
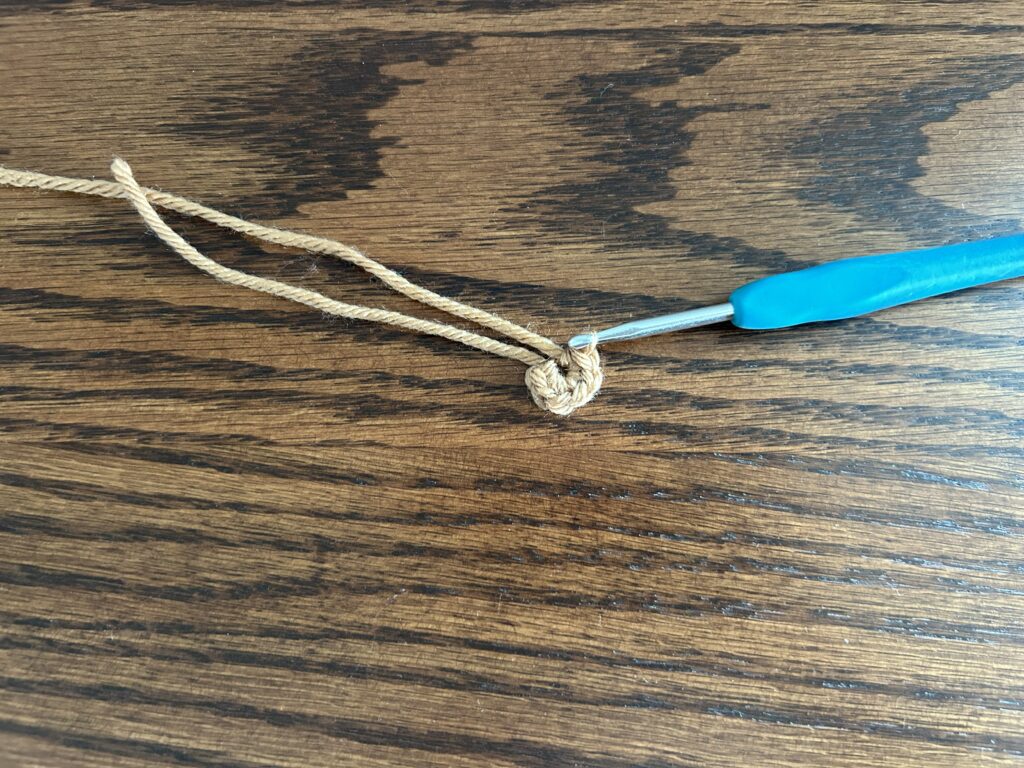
Round 2: (INC)
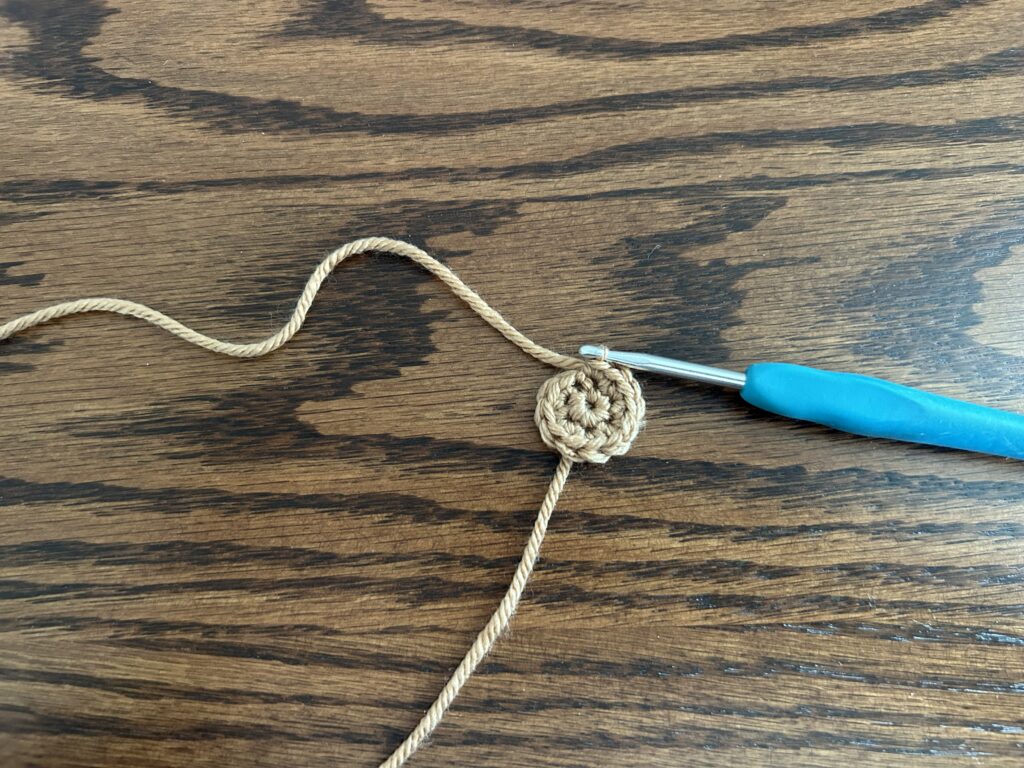
Round 3: (SC 1, INC)
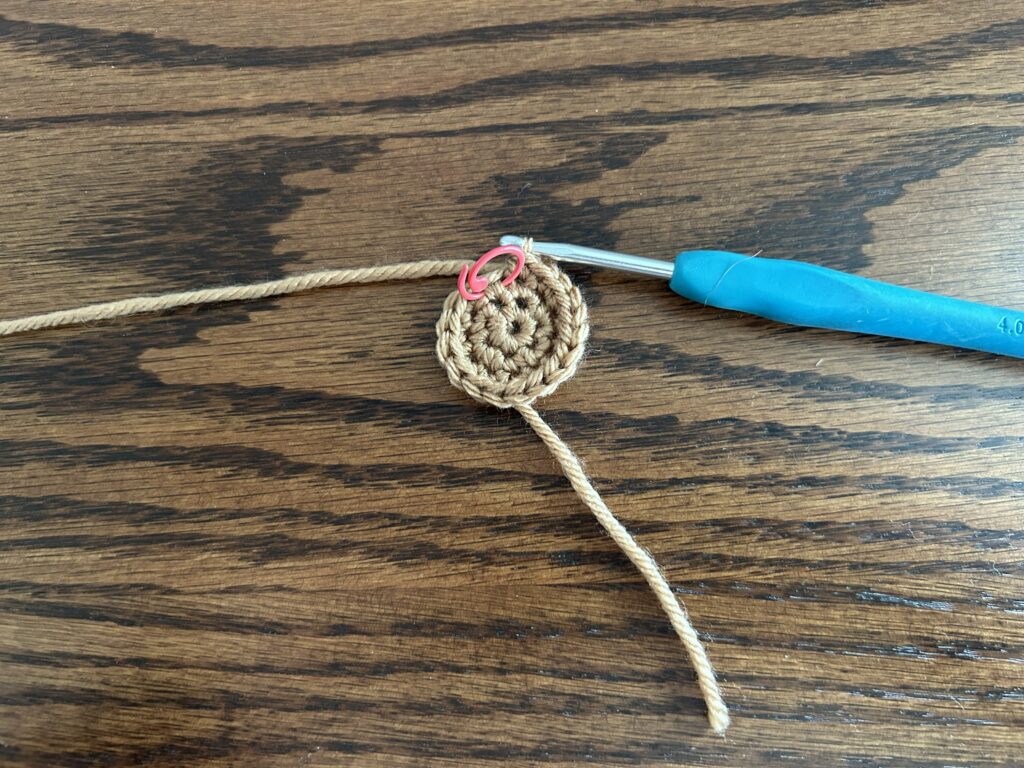
Round 4: SC 1, INC (SC 2, INC) SC 1
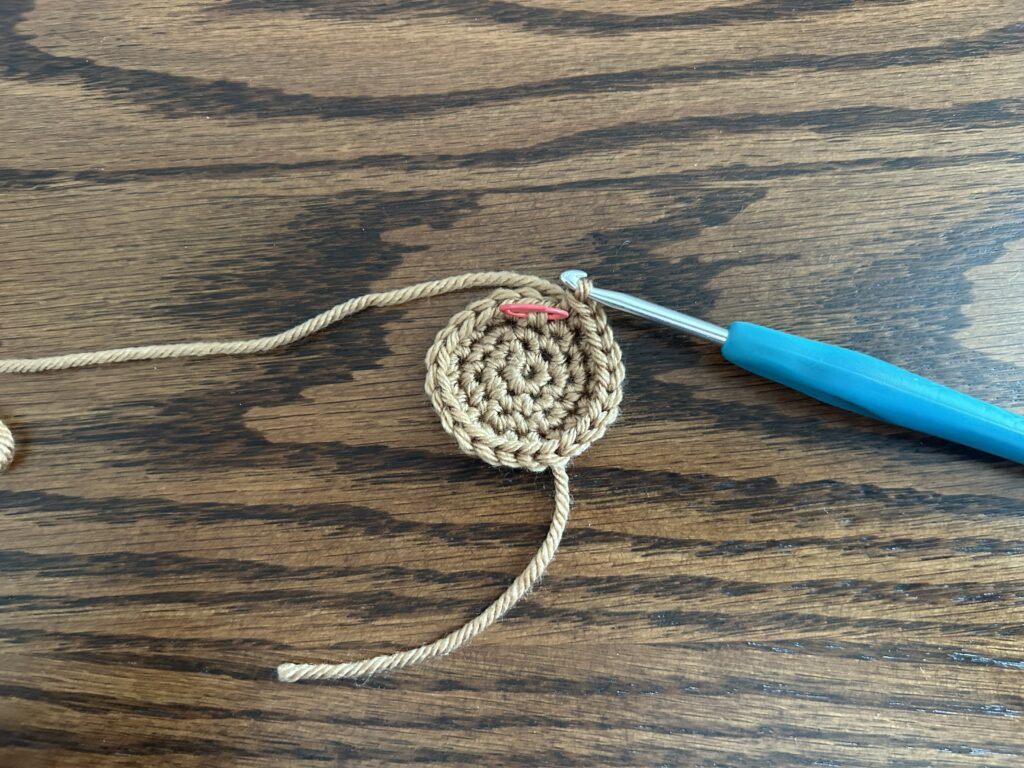
Round 5: (SC 3, INC)
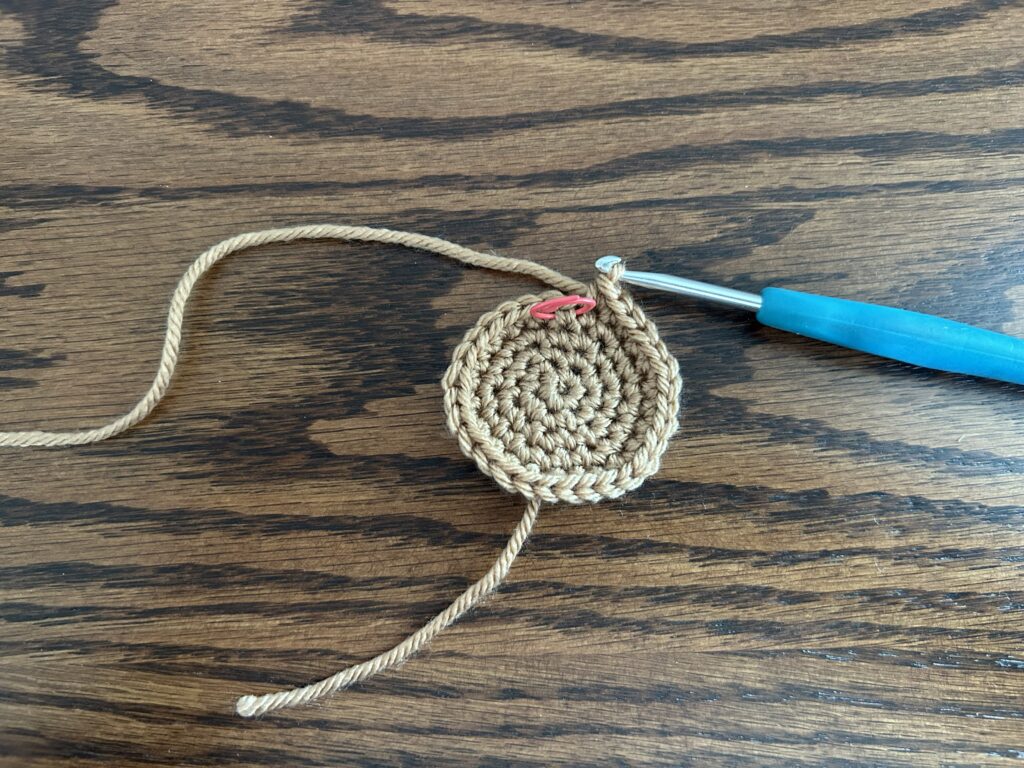
Round 6: SC 2, INC (SC 4, INC) SC 2
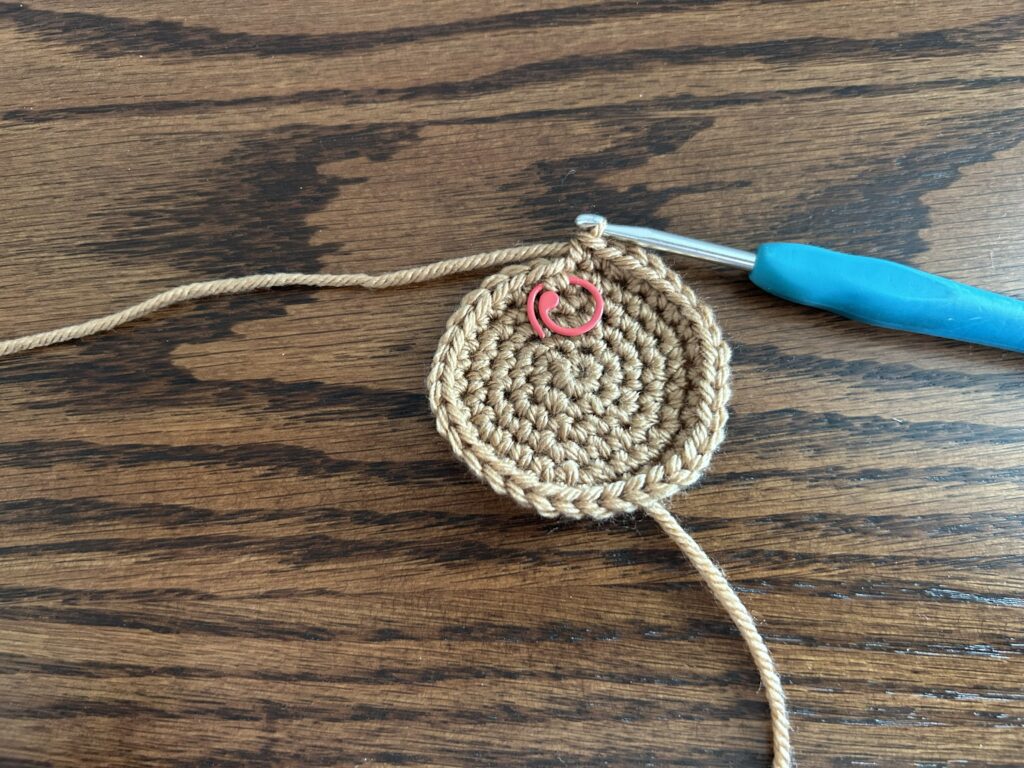
Round 7: SLST 1
Tie off leaving a tail about 12 inches long.
Cold Foam Design
With 10 White,
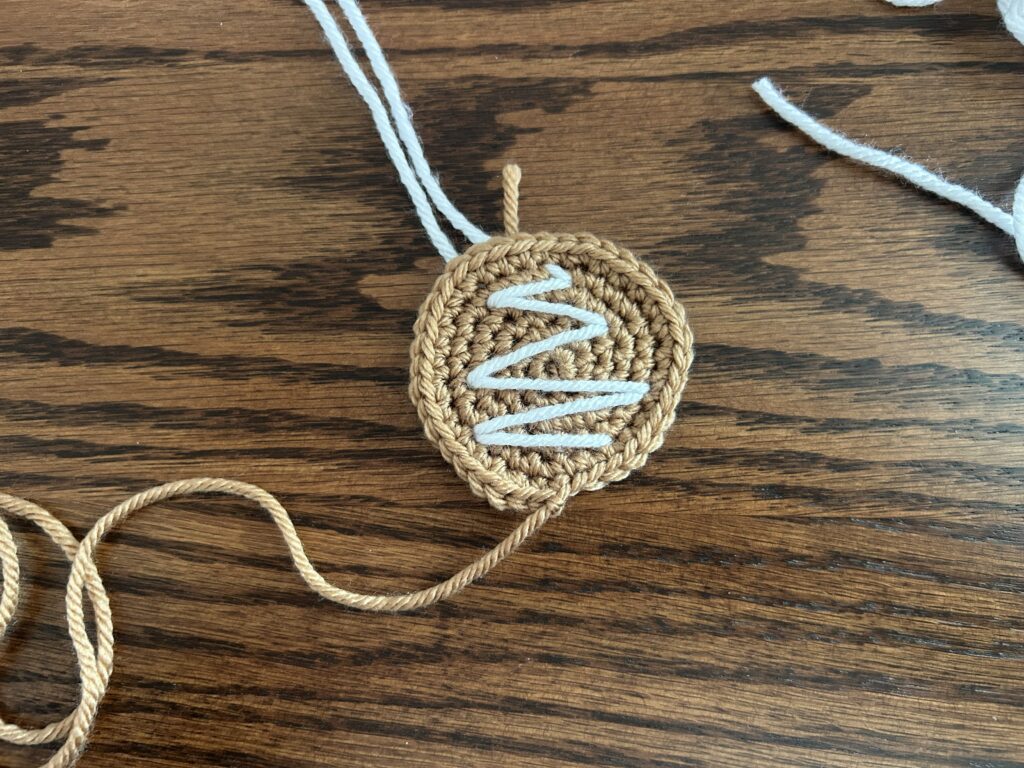
Use your darning needle and white yarn to create a zig zag foam effect. Do this by inserting your darning needle from the back to the front of the coffee piece. Once your darning needle is pulled to the front, insert your darning needle from the front to the back of the coffee piece. Create the zig zag effect you like.
Cut and tie the ends of the yarn together along the backside of the coffee piece. Make the knot loose.
Step 1
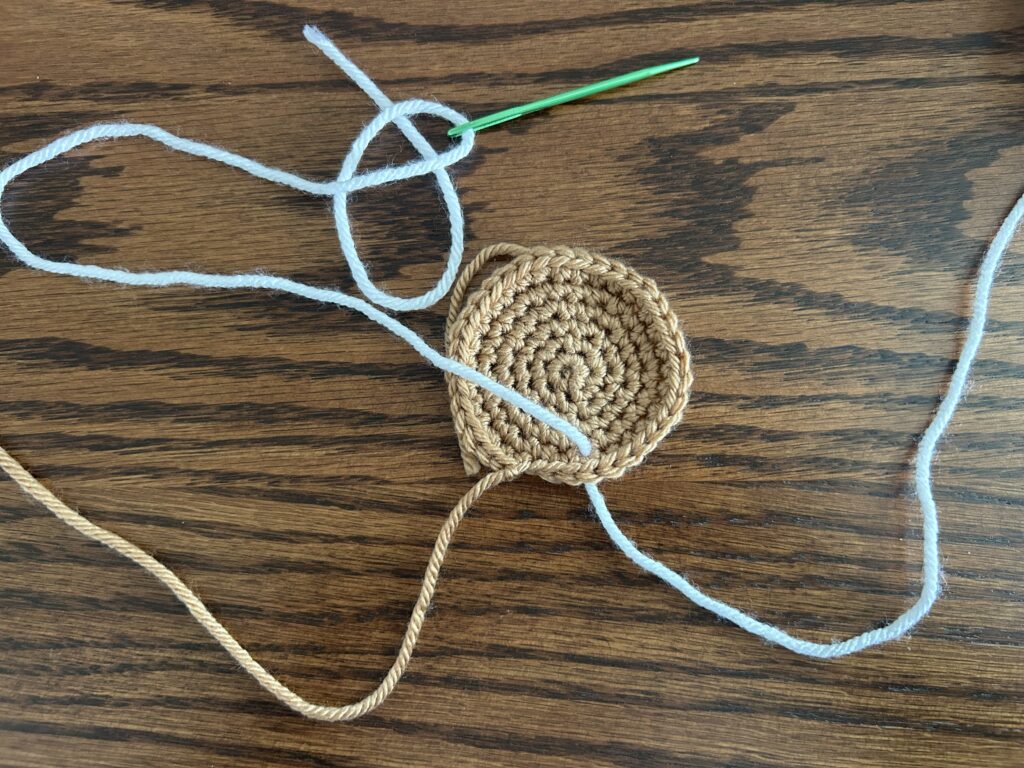
Step 2
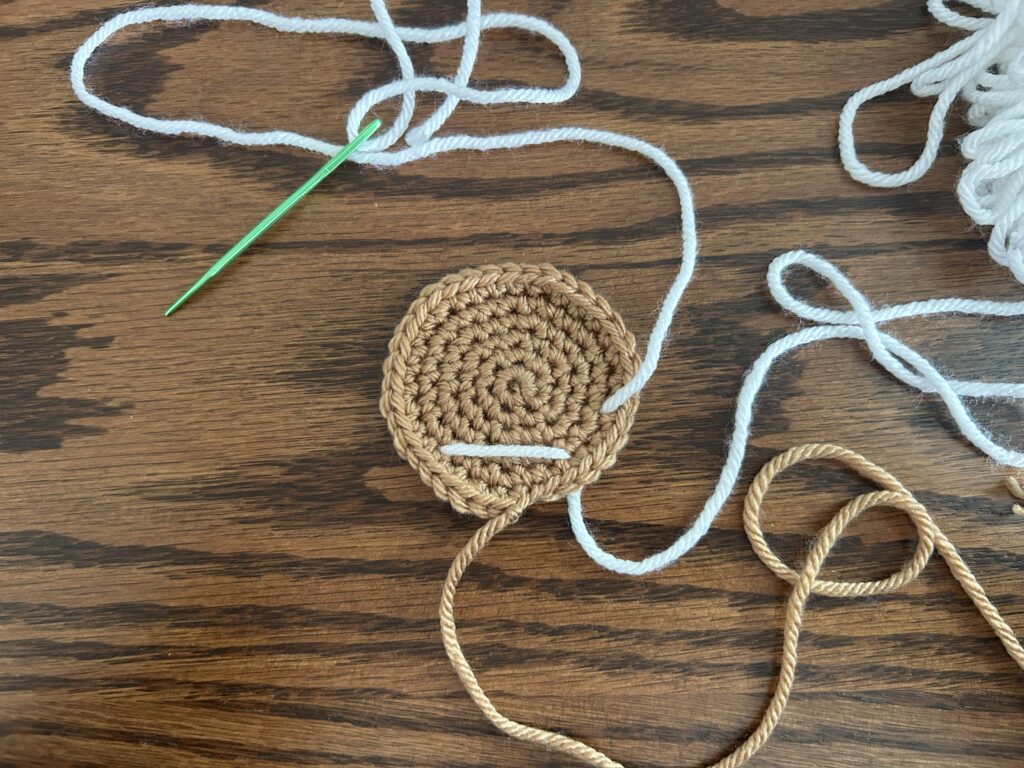
Step 3
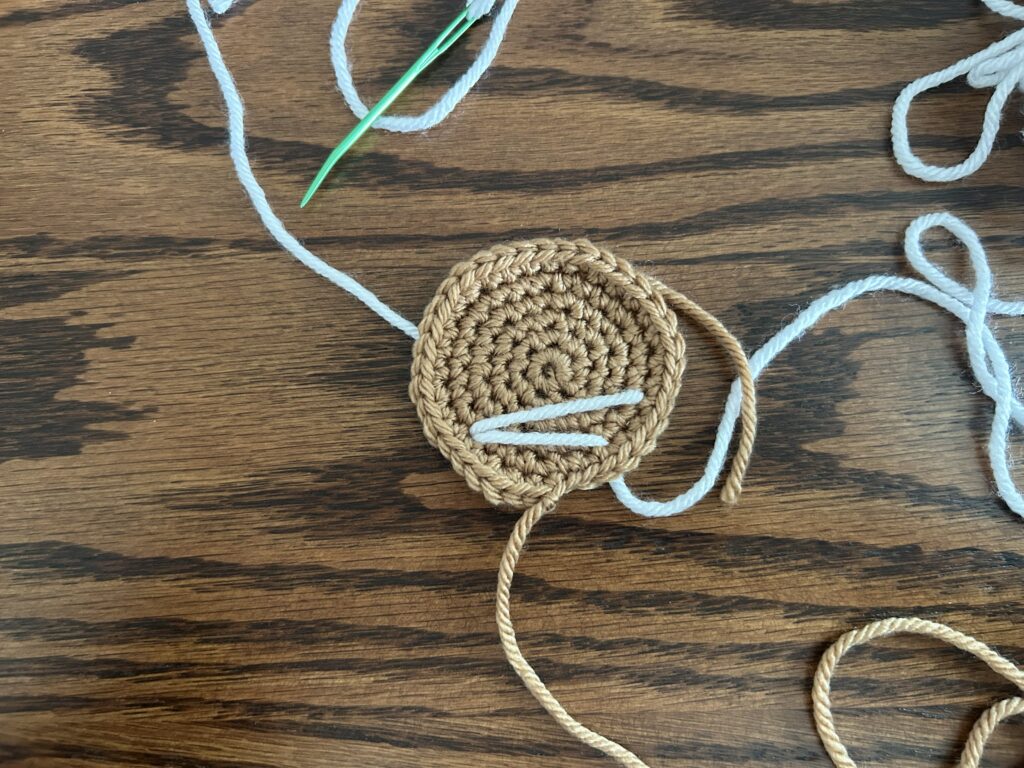
Step 4
Handle
With 10 White,
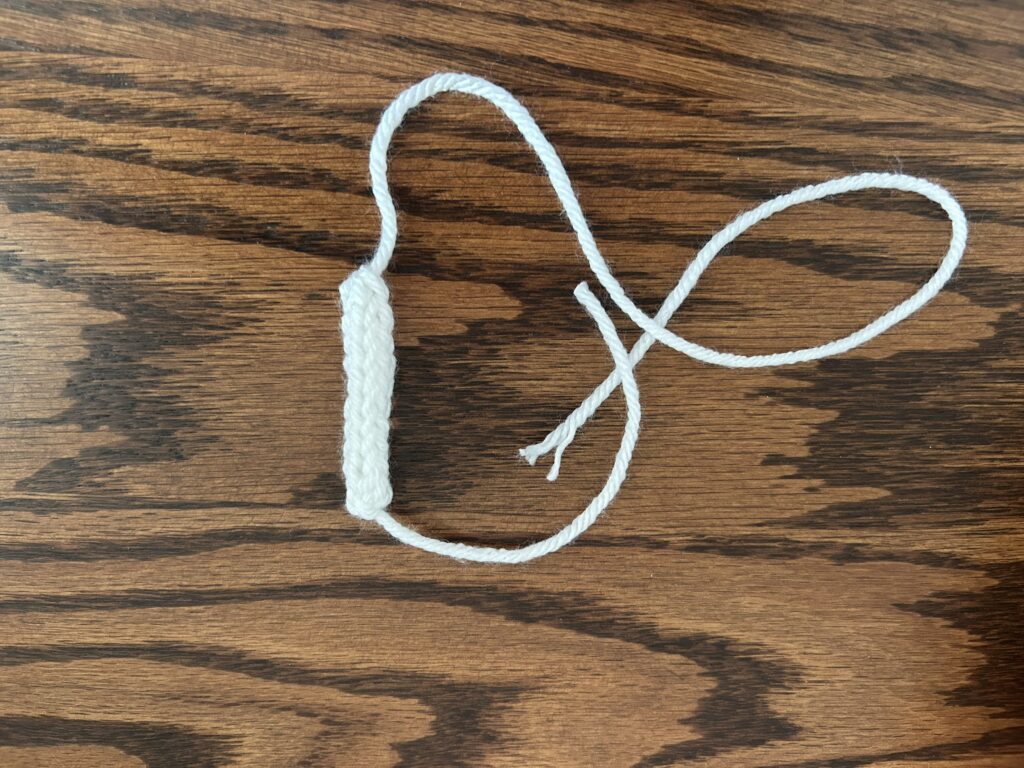
Create a slip knot, and chain 3.
Insert your hook into the second chain, yarn over, pull through. (2 loops on your hook)
Insert your hook into third chain, yarn over, pull through. (3 loops on your hook)
Create your crochet I cord by: (Remove front two loops from your hook and hold. (1 loop on your hook), Yarn over, pull through., Place middle loop on hook. Yarn over, pull through (2 loops on your hook), Place last loop on hook. Yarn over, pull through (3 loops on your hook) repeat for 8 more rows. Should have 9 rows of the handle.
With 3 loops on the crochet hook, SLST closed, CH 1.
Cut and tie off with a 12” tail.
Mug
With 10 White,
Round 1: SC 6 into MR
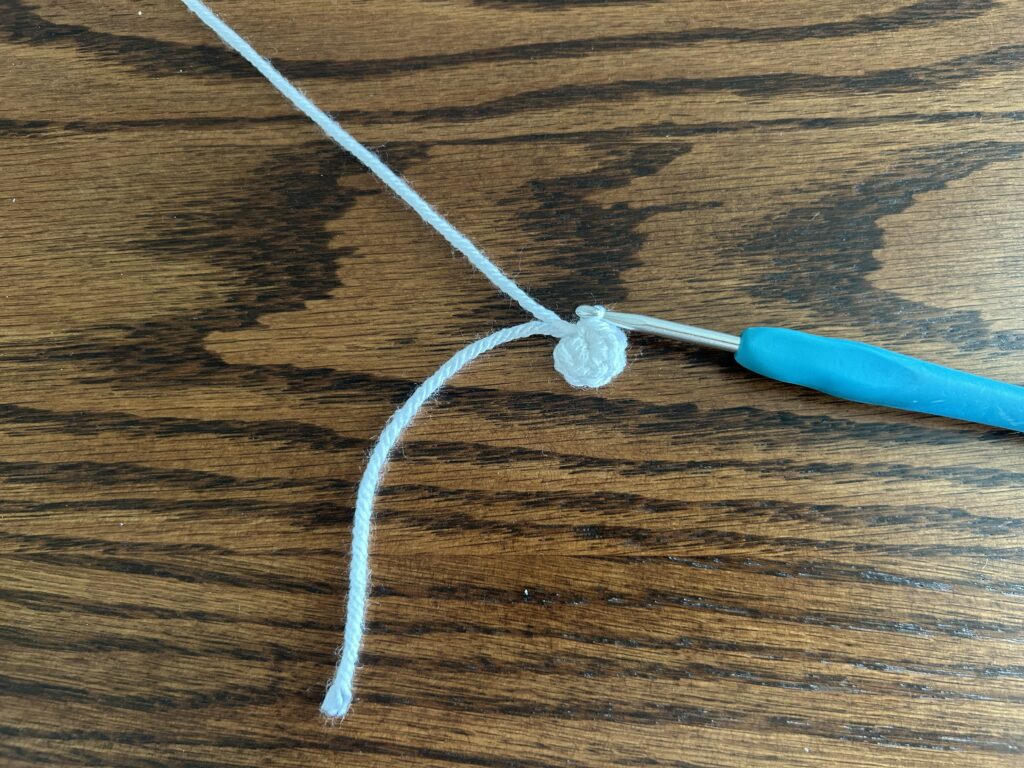
Round 2: (INC)
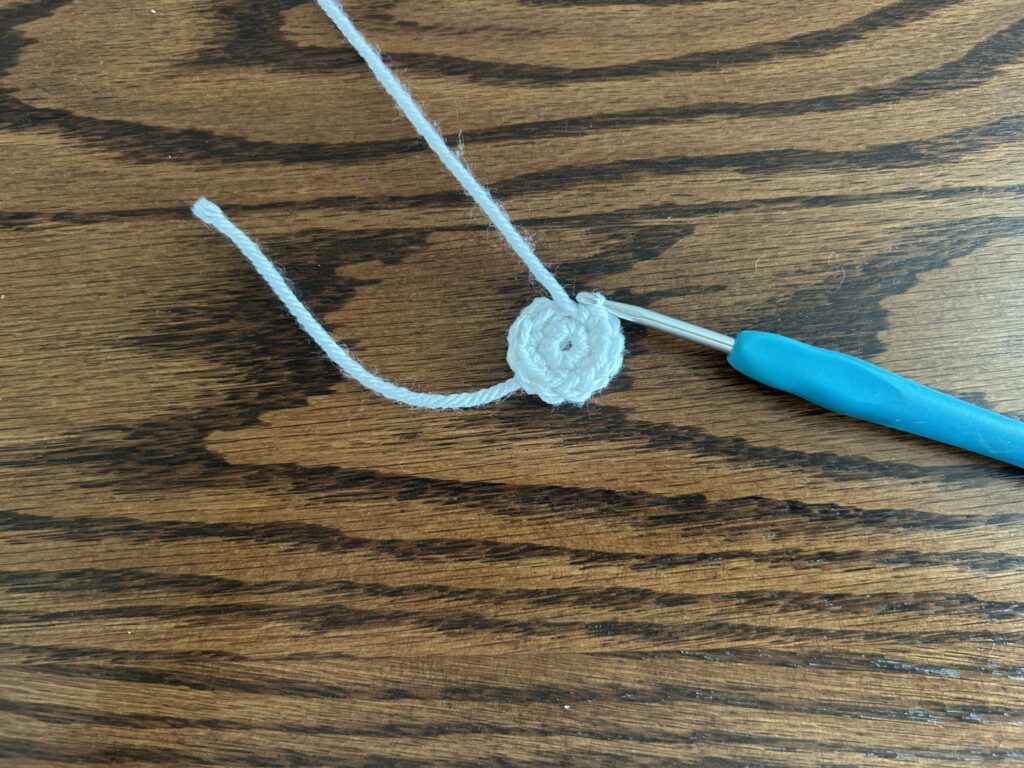
Round 3: (SC 1, INC)
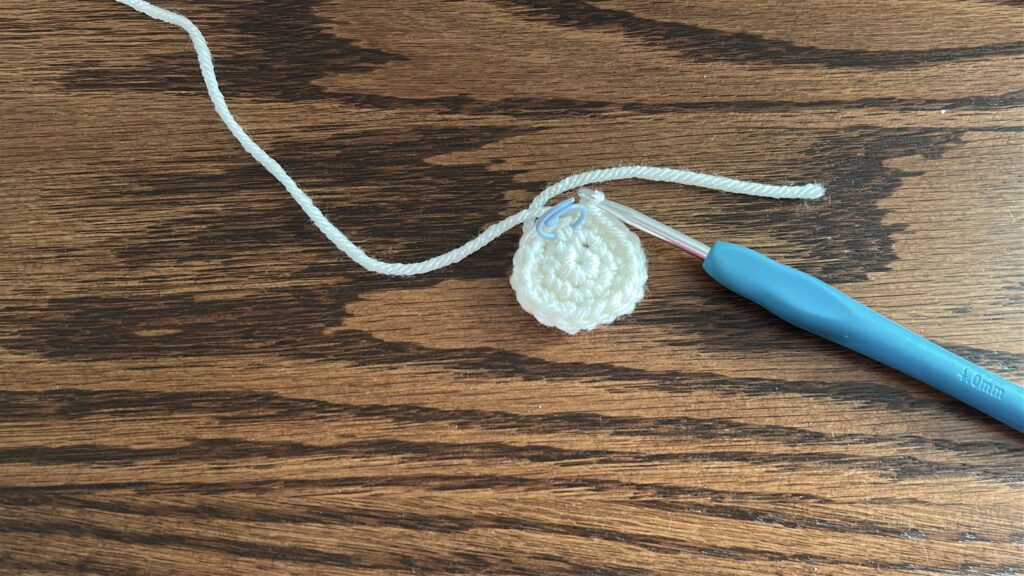
Round 4: SC 1, INC (SC 2, INC) SC 1
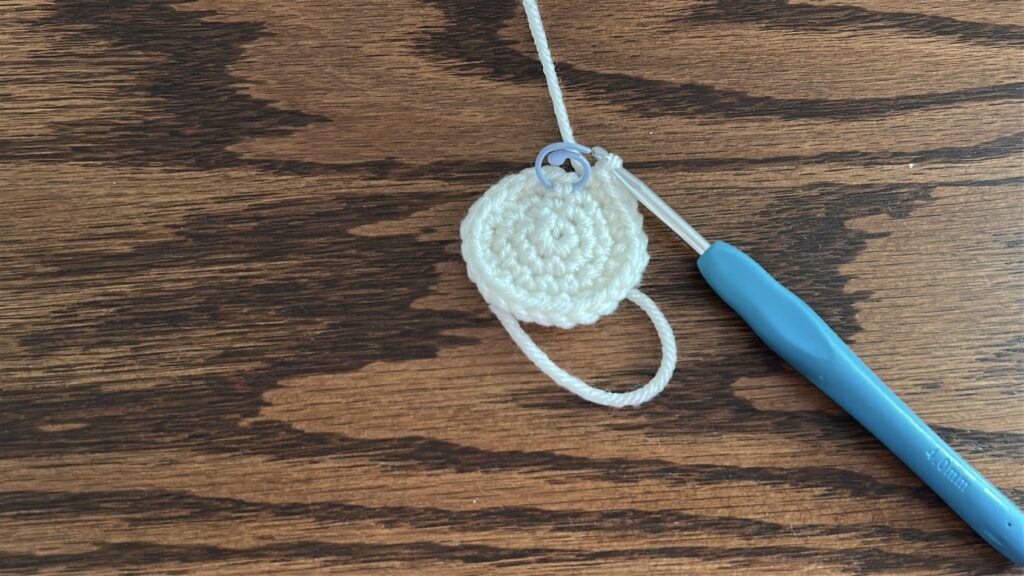
Round 5: (SC 3, INC)
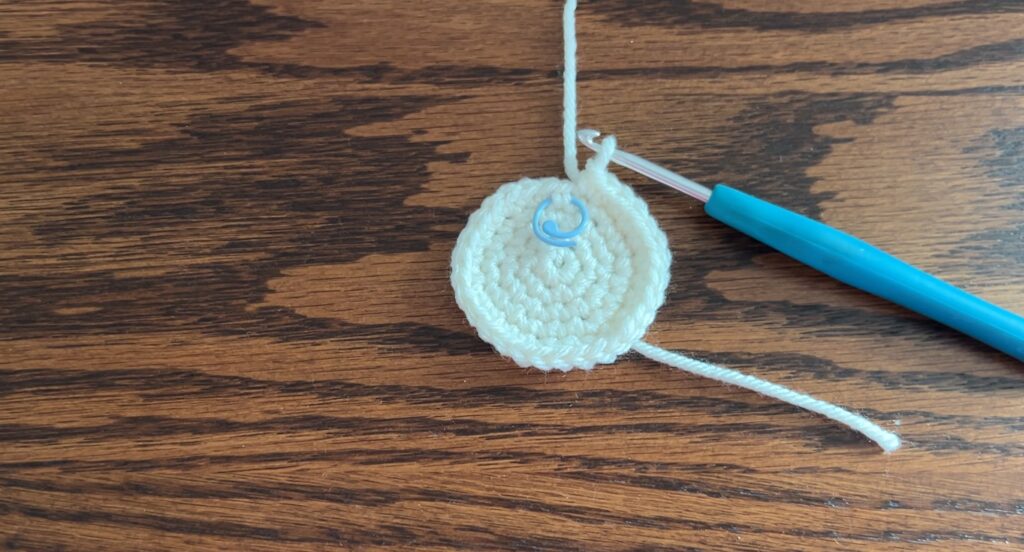
Round 6: SC 2, INC (SC 4, INC) SC 2
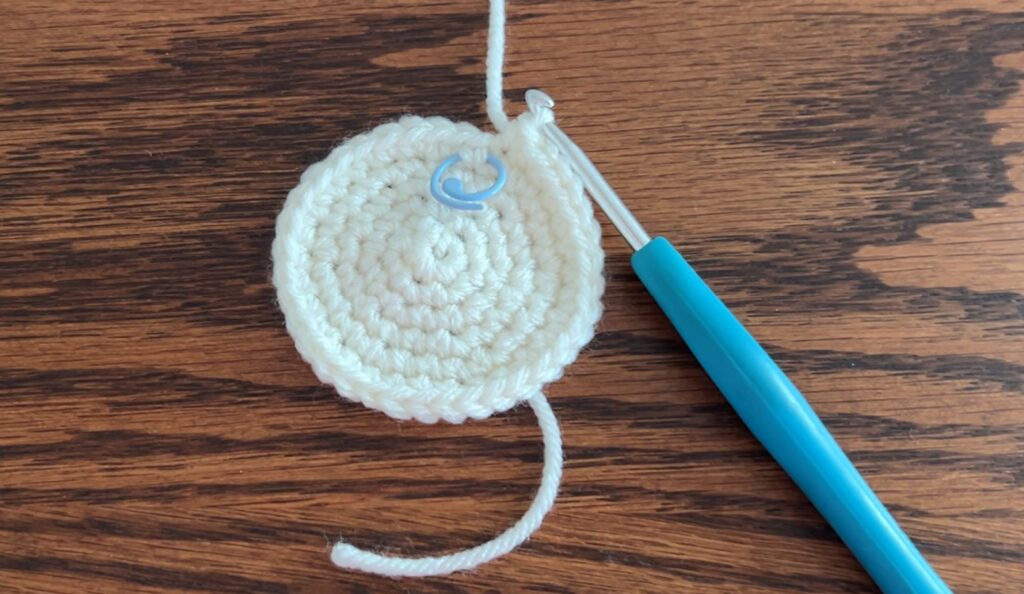
Round 7: SC 36 into FLO
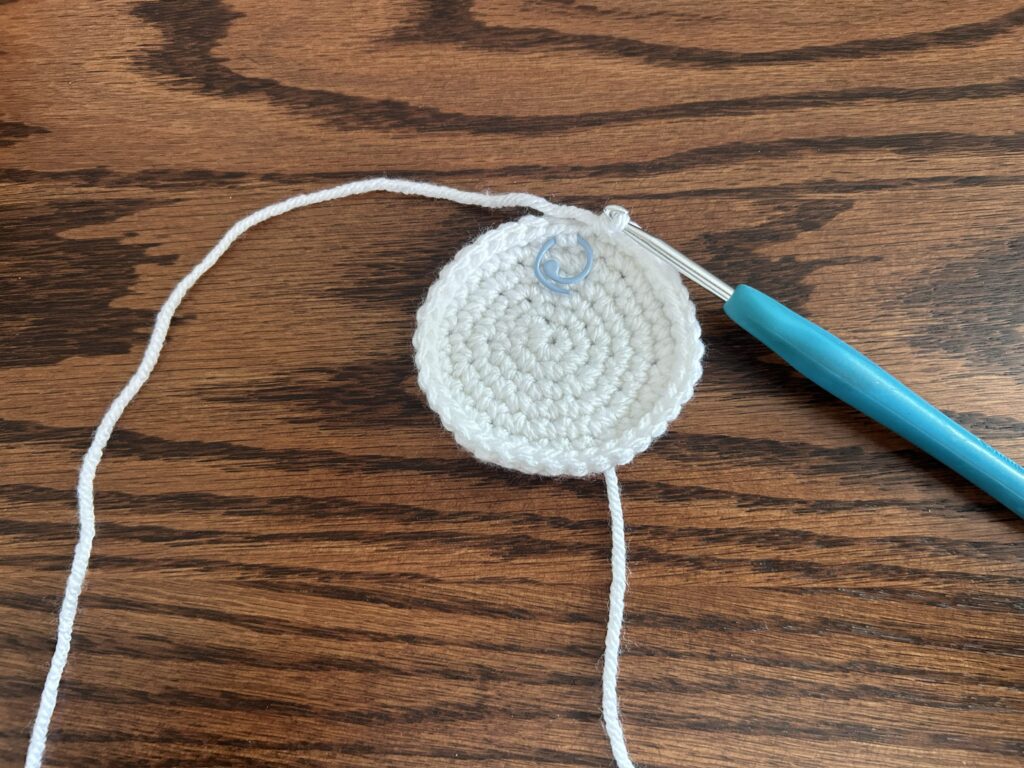
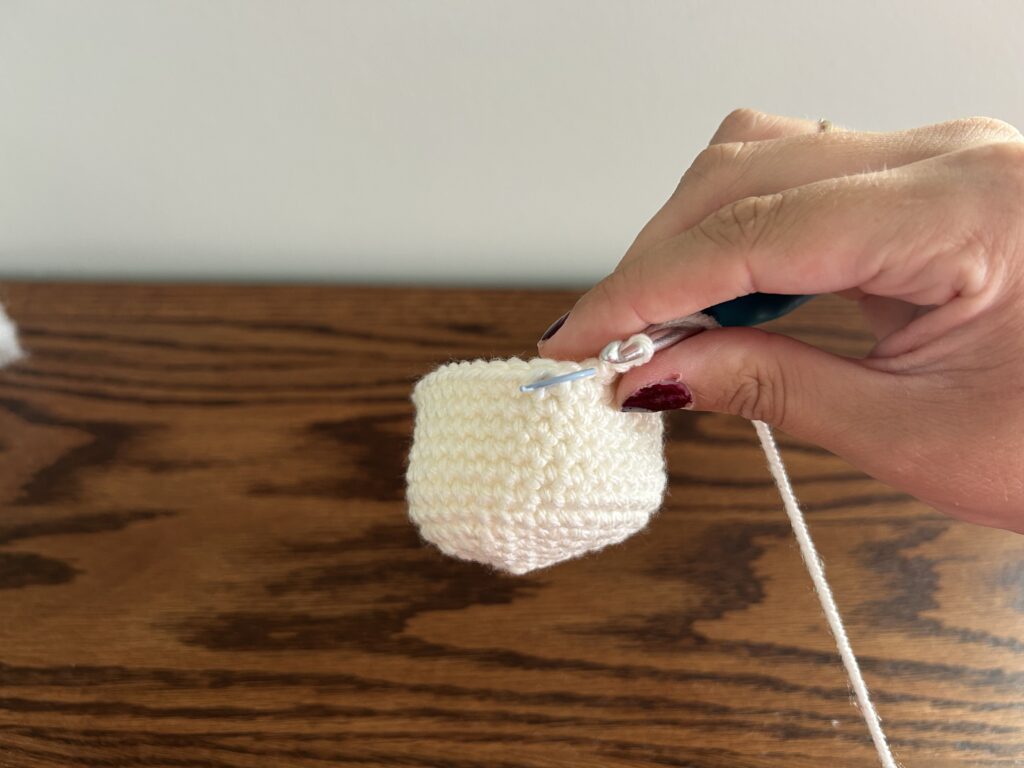
Rounds 8-13: SC 36
After round 13, pull a long loop with your crochet hook. Do not cut your yarn yet.
Attaching Mug and Handle
With Mug and Handle,
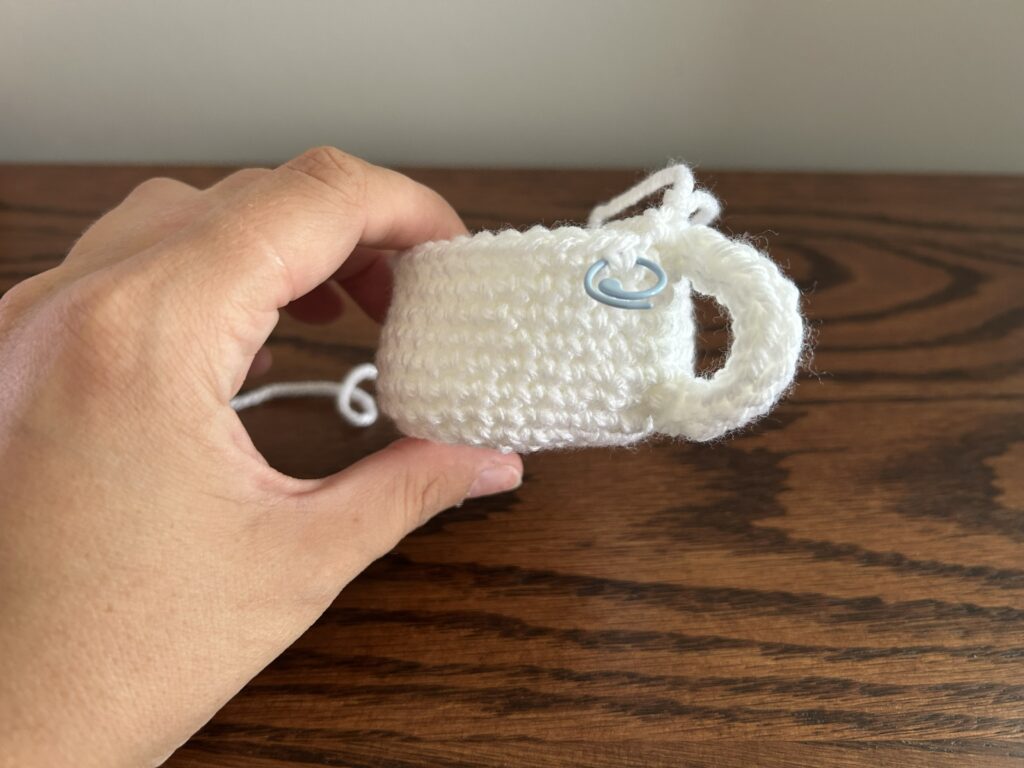
1. With one of the ends of the handle, attach it to your mug between rows 7 and 8 right below the long loop on the mug with your darning needle. Secure in place and bring the end of the yarn inside of the mug.
2. With the other end of the handle, attach it to your mug between rows 12 and 13 right below the long loop on the mug. Secure in place and bring the end of the yarn inside of the mug.
Attaching Safety Eyes
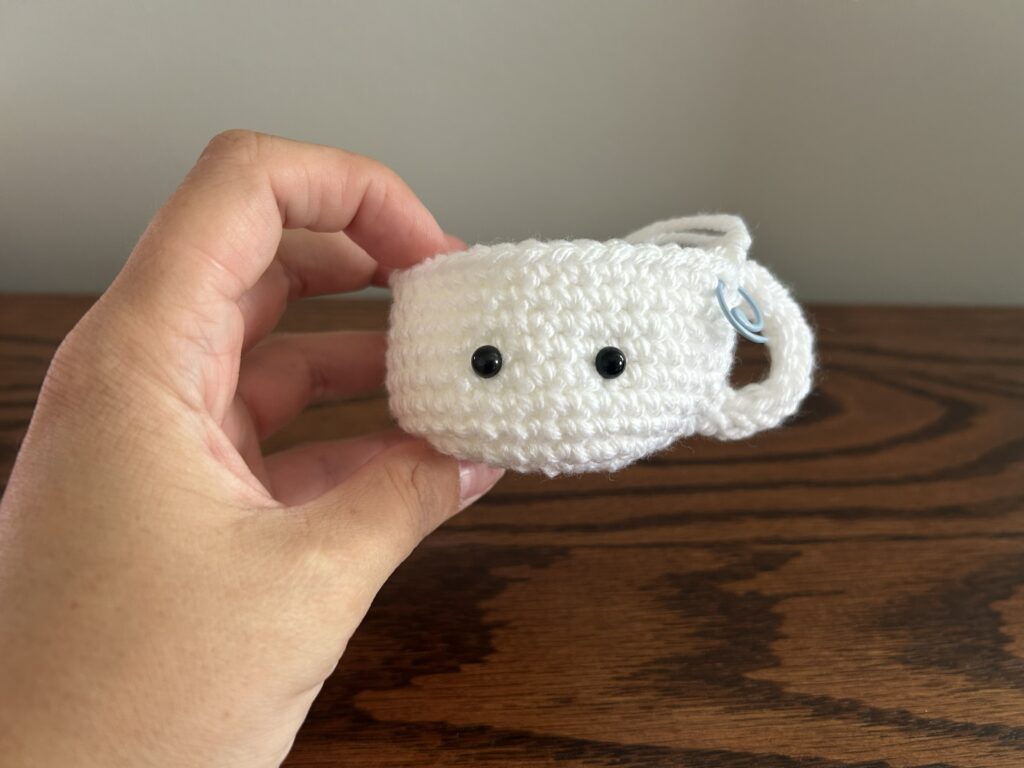
Insert the safety eyes between rows 9 and 10. You can choose which side of the mug you insert the eyes into. I like to have the handle on the right side of the mug. Attach the eyes so they are three stitches apart. The eyes should have three stitches between them.
Attaching Mouth
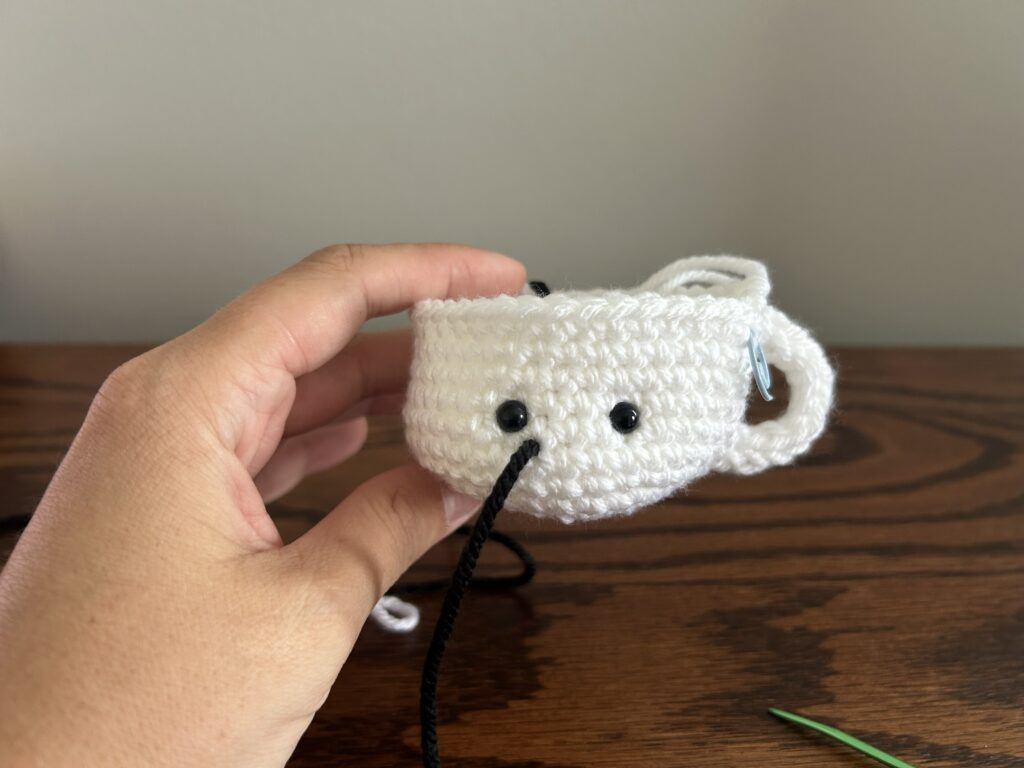
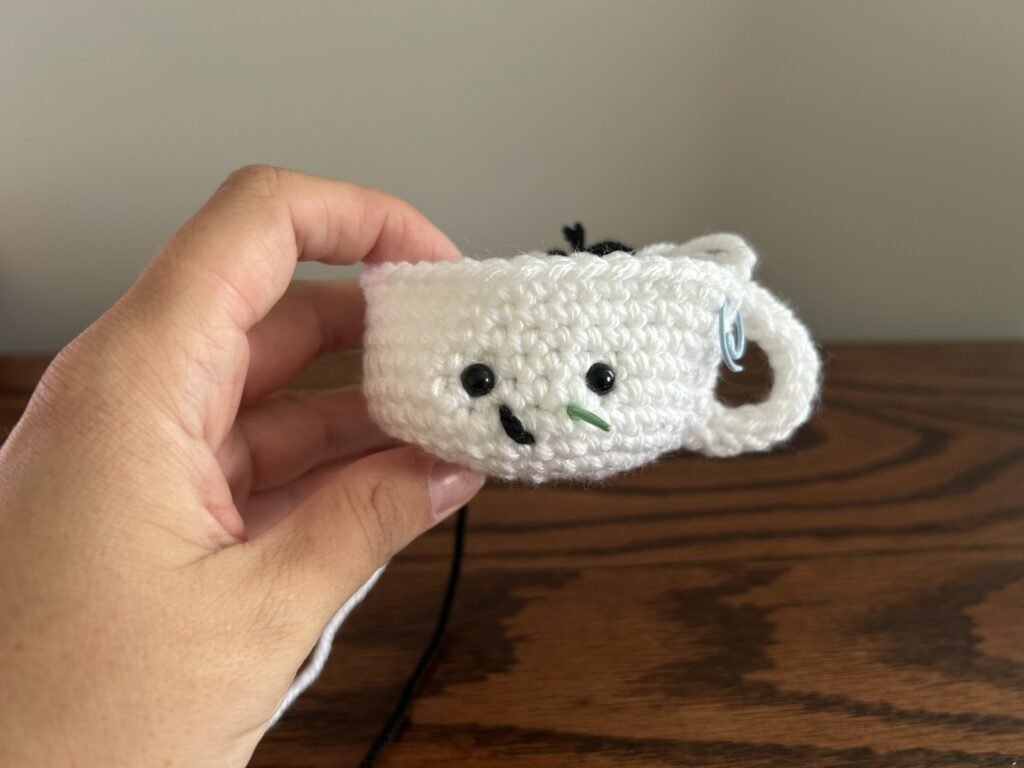
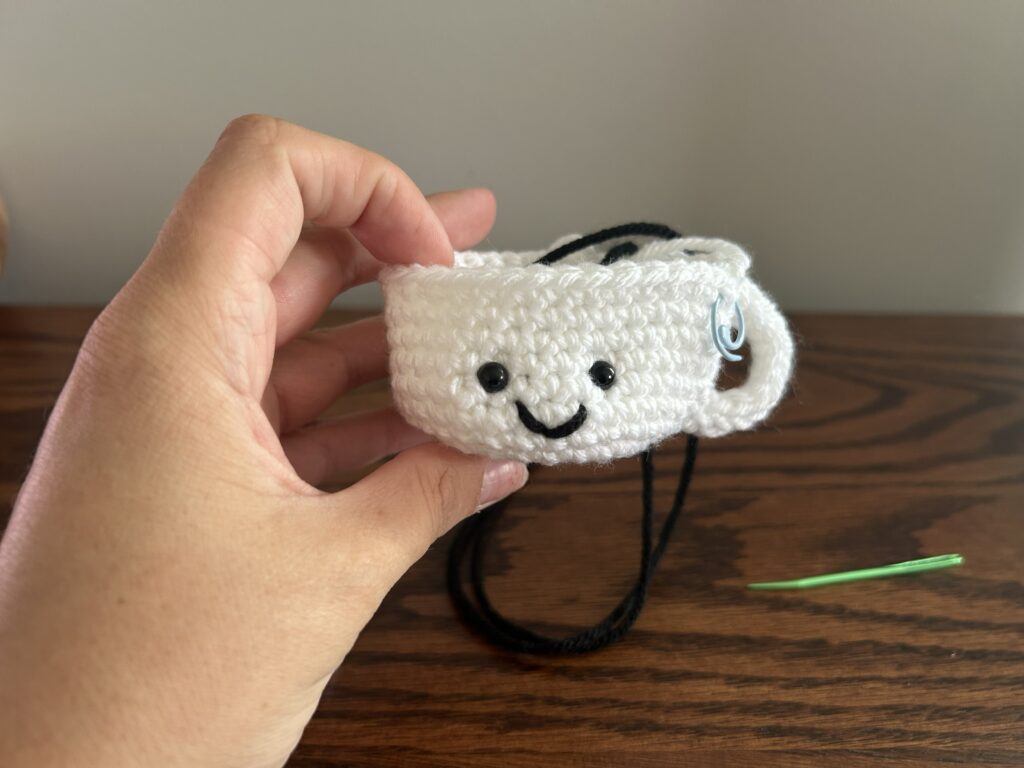
The mouth shape will form like the letter V. With your darning needle and black yarn, insert your darning needle from the inside of the mug to the outside of the mug one row below the left eye. Place your darning needle one row to the right and one row below the stitch your yarn is coming out of from the outside to the inside of the mug. Place your darning needle in the stitch one row below the right eye, pulling from the inside to the outside of the mug. To finish the mouth, place your needle into the bottom point of the mouth from the outside to the inside. Secure the mouth in place. Do not pull the yarn too tight. Tie on the inside of the mug.
Step 1
Step 2
Step 3
Attaching Coffee Piece to Mug
Insert your hook back into the loop on the mug and insert your hook into the last SC stitch on the coffee piece. The stitch right before the SLST. SC to secure in place. Continue the SC stitch joining the c piece to the mug to create the mug rim around until you have about 8 stitches left.
Stuff Your Mug
With the 8 stitches left around the rim, stuff your mug so that the coffee piece has lift to it. This makes the coffee piece more visible.
Once your mug is stuffed, finished SC around the rim of the mug.
SLST into the last stitch.
Tie off and tuck yarn into the inside of the mug.
Congratulations!
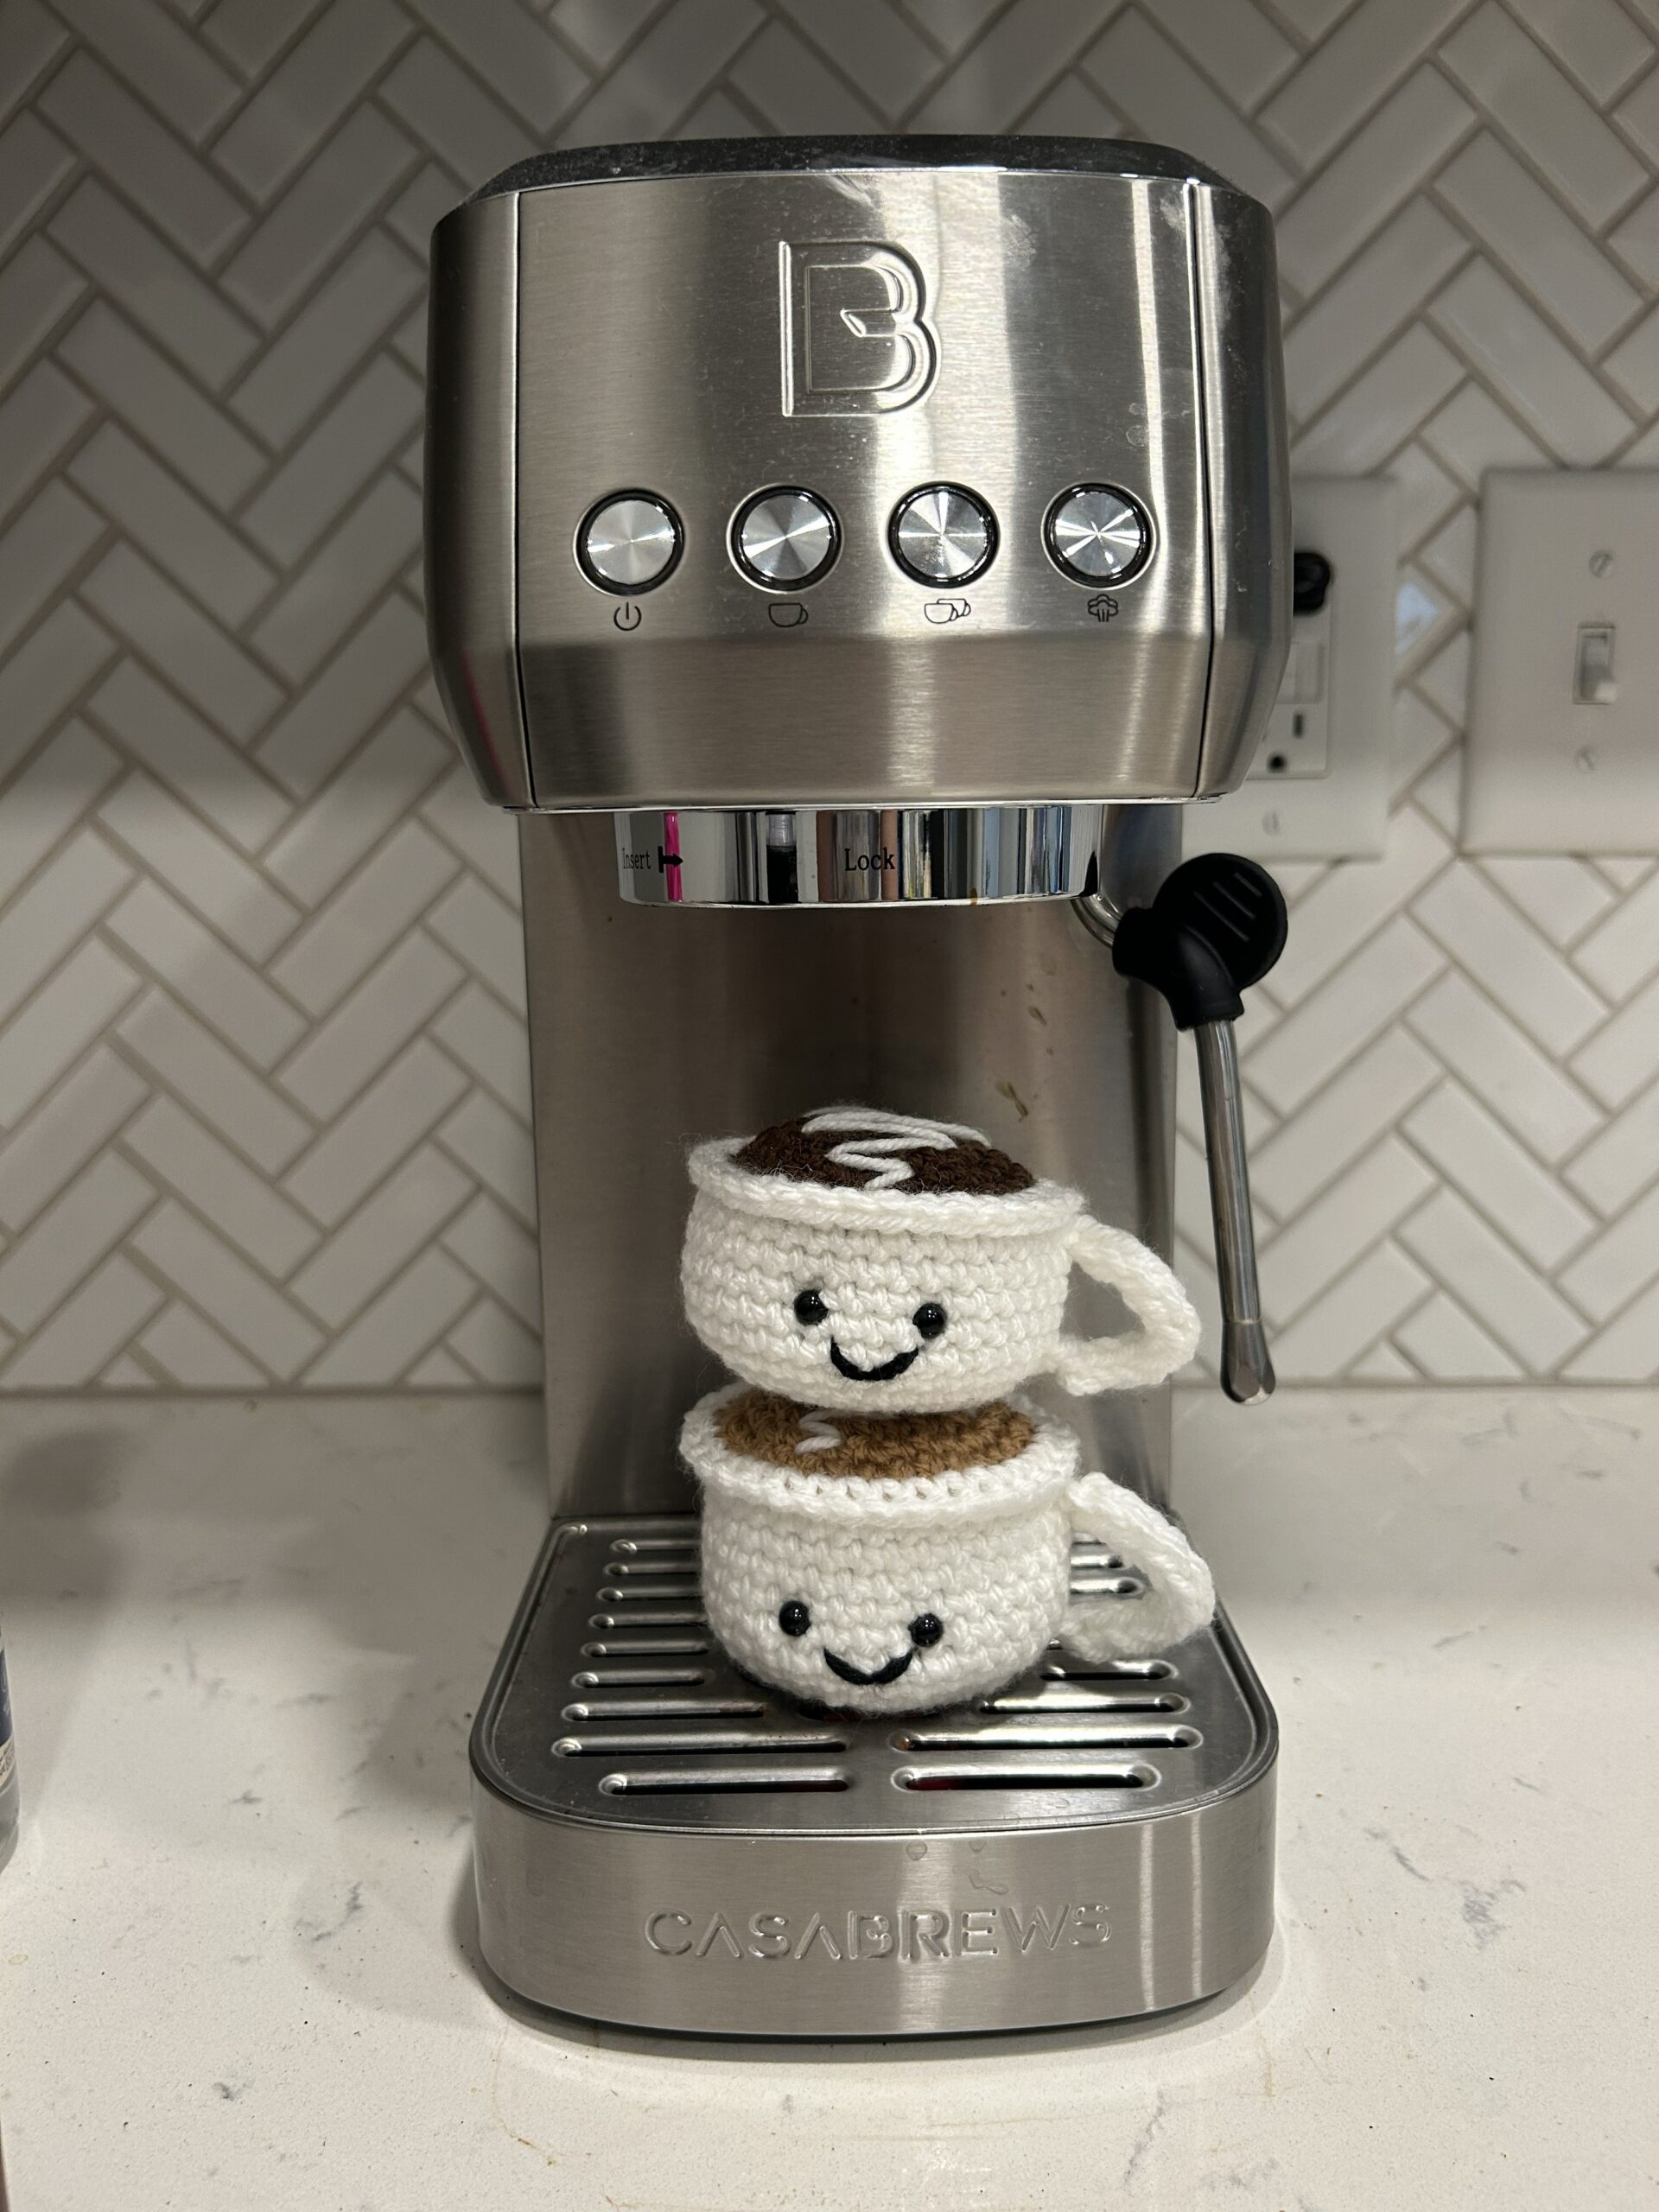
Congratulations! You have finished the pattern!
Take a photo and DM or tag me on social media!
Enjoy your crochet coffee cup!