








Create your own string of pearls crochet plant with this written photo tutorial pattern & video tutorial! This is a great summer crochet project for beginners. It even makes a great car accessory by hanging from your rearview mirror! Gift to a friend or treat yourself with this cute crochet project.
The step-by-step crochet string of pearls free pattern easily explains how to crochet your own string of pearls plant with helpful videos and pictures in the instructions. You can purchase the ad-free pattern and watch the video tutorial.
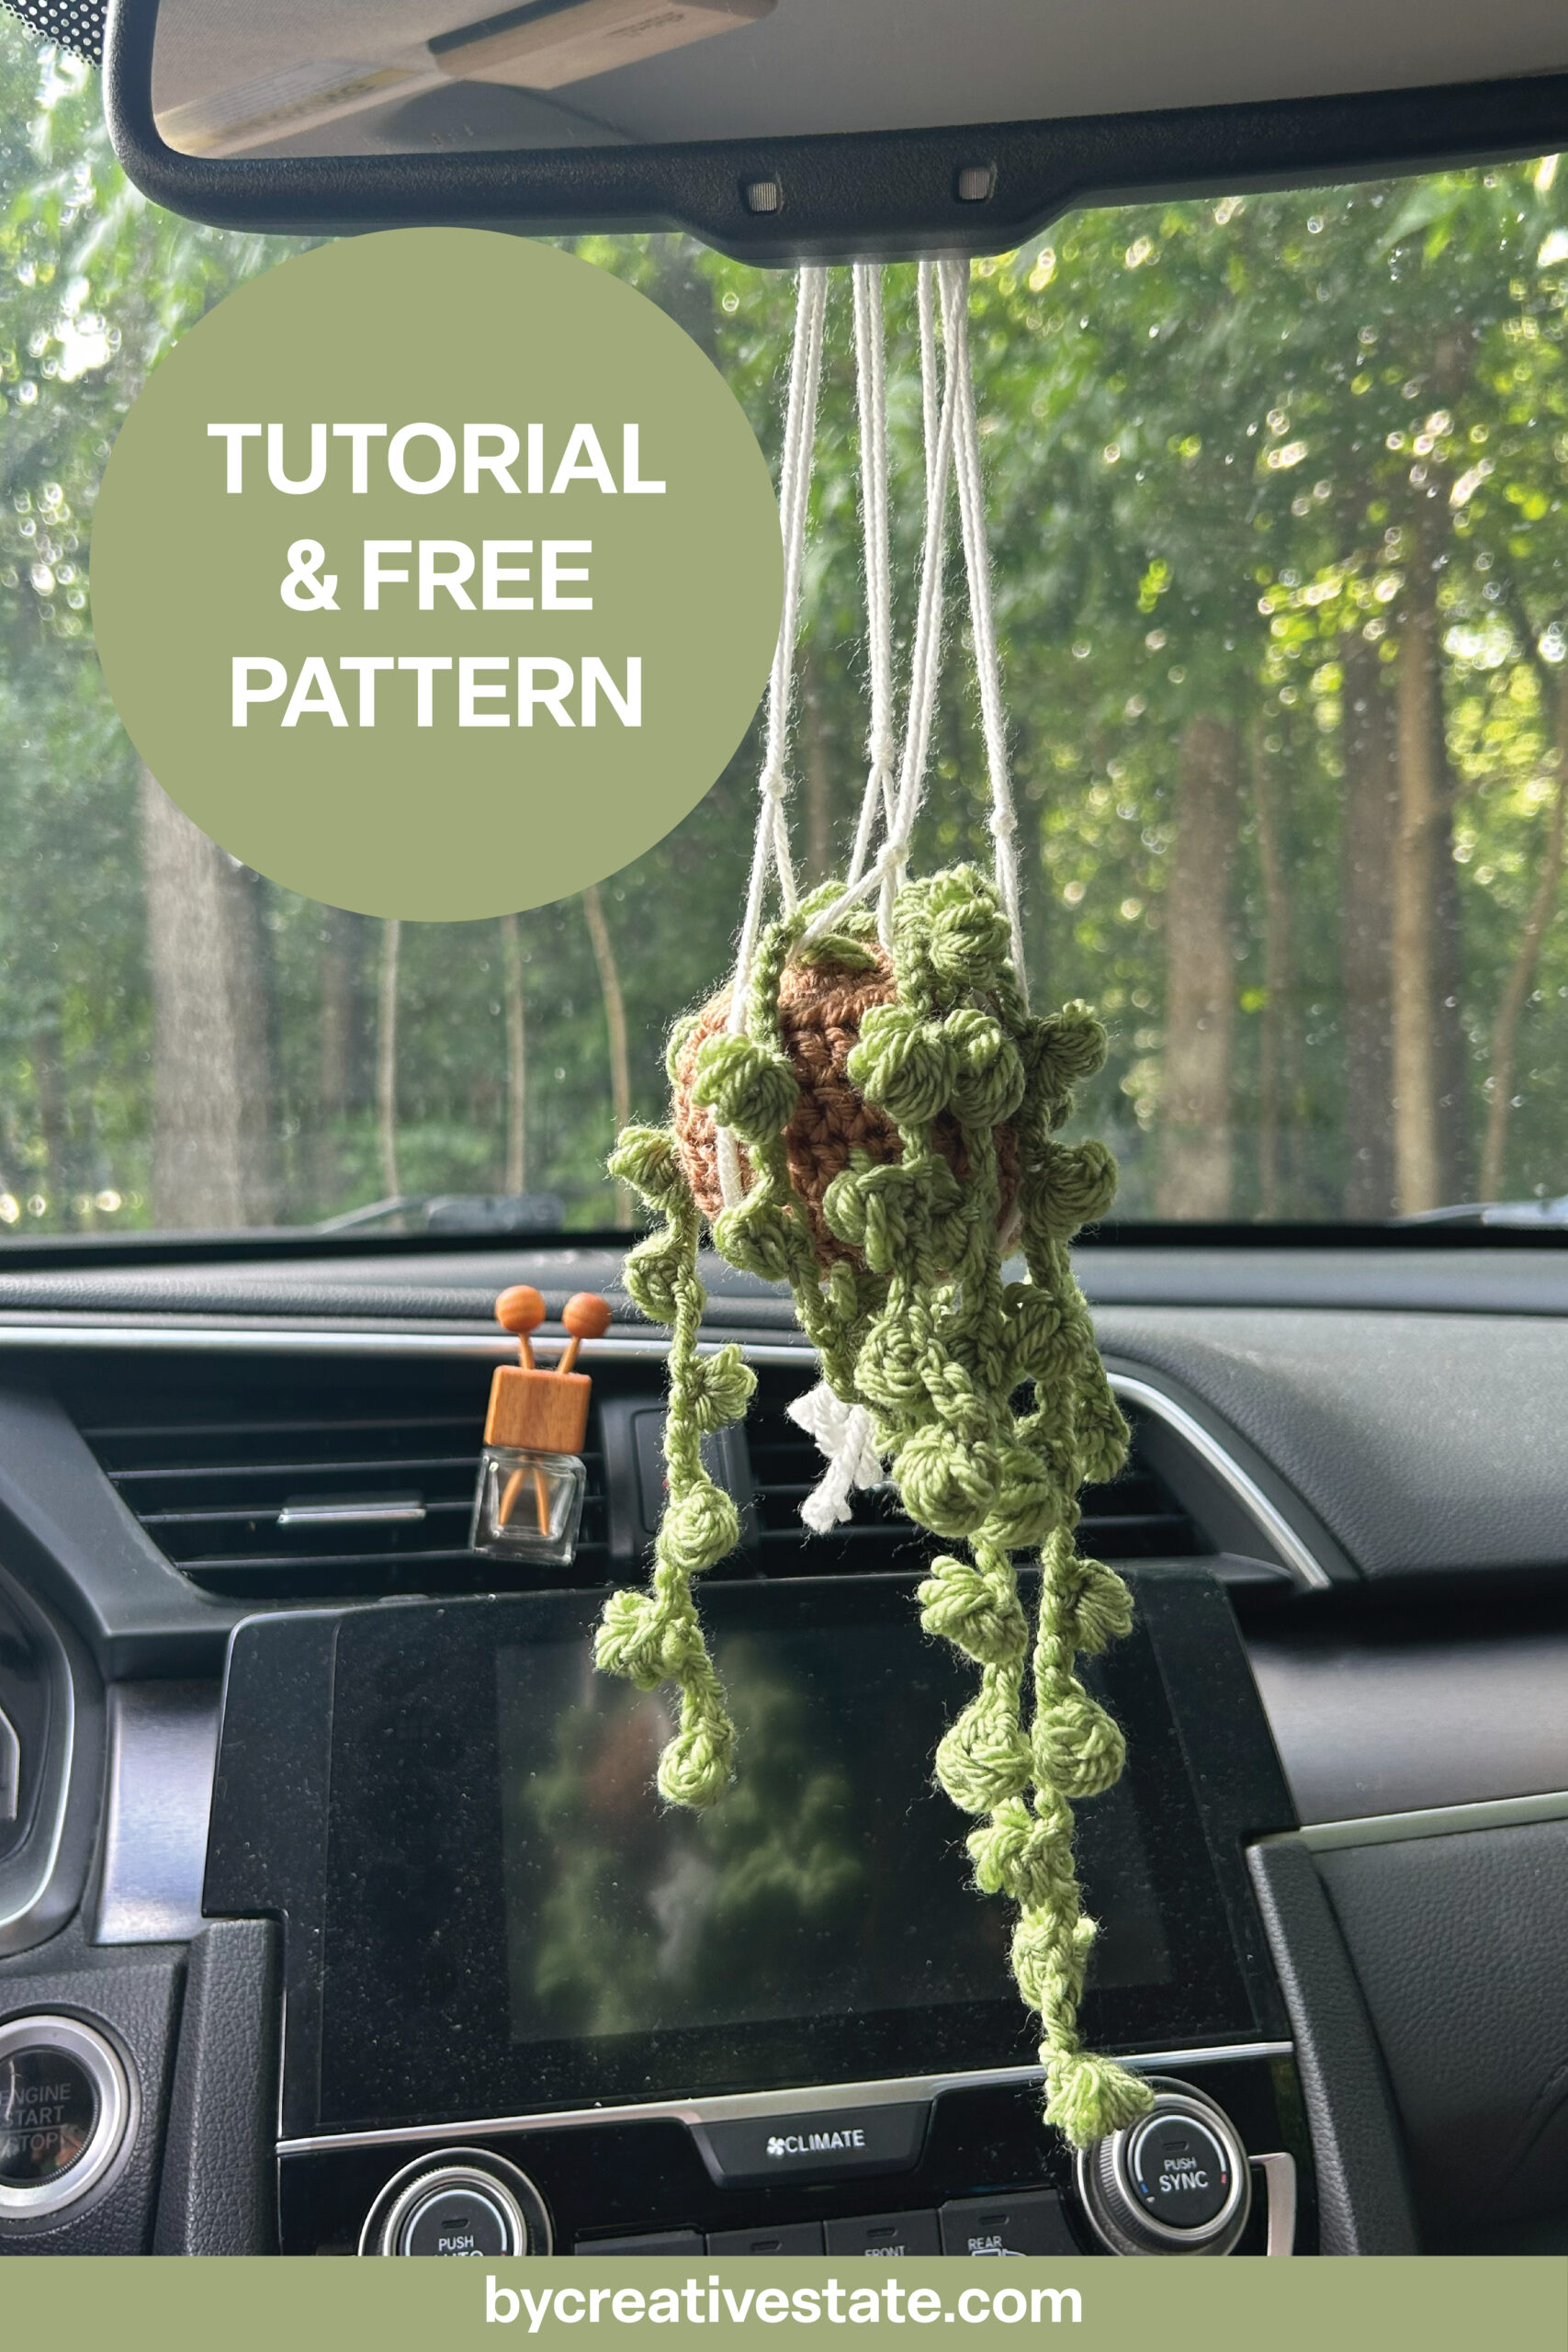
Table of Contents
String of Pearls Plant Video Tutorial
Pattern Information
Skill Level
Time to Complete
Materials
Crochet Abbreviations
Finished Size
Pattern Notes
Crochet String of Pearls Amigurumi Pattern
Pot
Soil
Bulb Strings
Puff Stitch
Assembling
Macrame Plant Holder
Congratulations
Crochet String of Pearls Plant Video Tutorial
Want a visual guide? Check out my crochet string of pearls video tutorial on YouTube, complete with timestamps so you can jump straight to any step!
Pattern Information
Skill Level
Beginner / Easy
Time to Complete
Approximately 2 hours
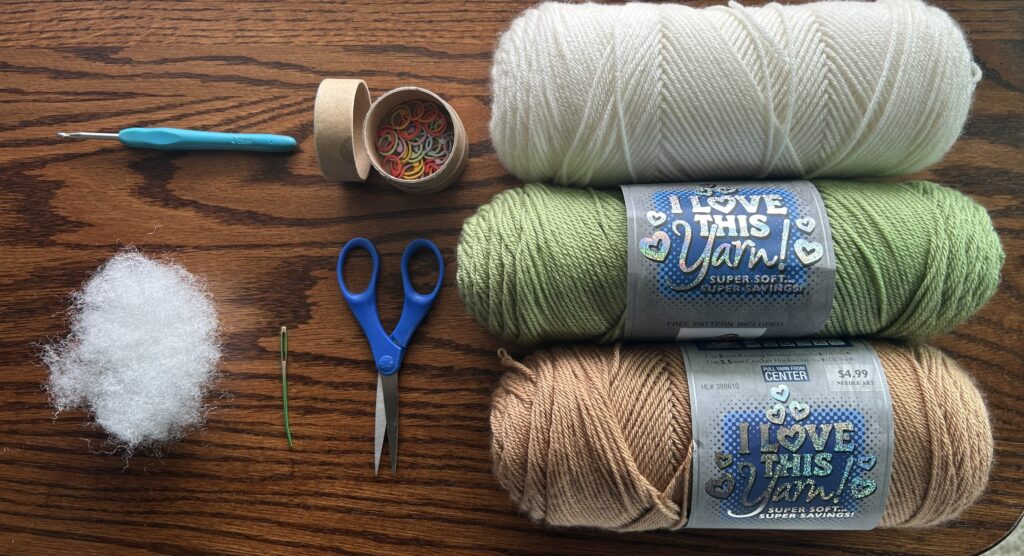
Materials
Click the links to purchase the items!
4mm Crochet Hook
Polyfil Stuffing
Scissors
Yarn: I love this yarn brand in colors: 10 White (Macrame), 140 Mild Green (Plant), 150 Toasted Almond (Pot)
Stitch markers
Darning needle
Measuring tape
by Creative State earns commission on tagged products.
Crochet Stitch Abbreviations
Click the link on the crochet stitch abbreviations to learn how to crochet the stitch.
CH: Chain Stitch
MR: Magic Ring
SC: Single Crochet
DC: Double Crochet
INC: Increase Stitch
BLO: Back Loop Only
SLST: Slip Stitch
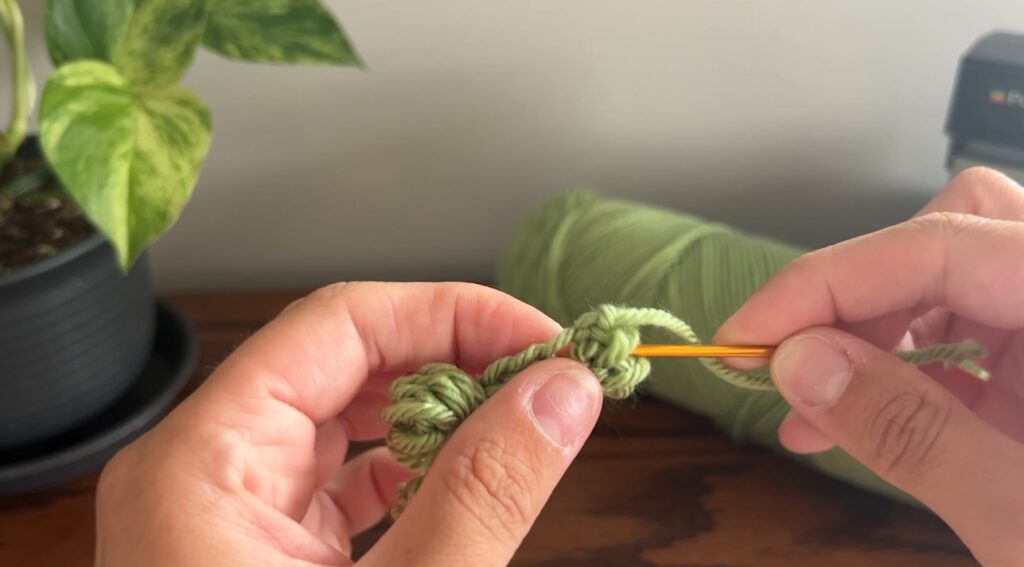
PUFF Stitch: yarn over, place hook into second to last CH, yarn over, pull through [should have 3 loops on hook], yarn over, place hook into same CH, yarn over, pull through [should have 5 loops on hook], yarn over, place hook into same CH, yarn over, pull through [should have 7 loops on hook], yarn over, place hook into same CH, yarn over, pull through [should have 9 loops on hook] then yarn over, pull through those 9 stitches
Finished Size
Overall: 22″x 3.5″
Pattern Notes
1. This pattern is worked in US terms
2. Italics tell you what color you should be using
3. Anything in parenthesis () should be worked continuously within the round
4. Stitches are separated by commas ,
Crochet String of Pearls Amigurumi Plant Pattern
Pot
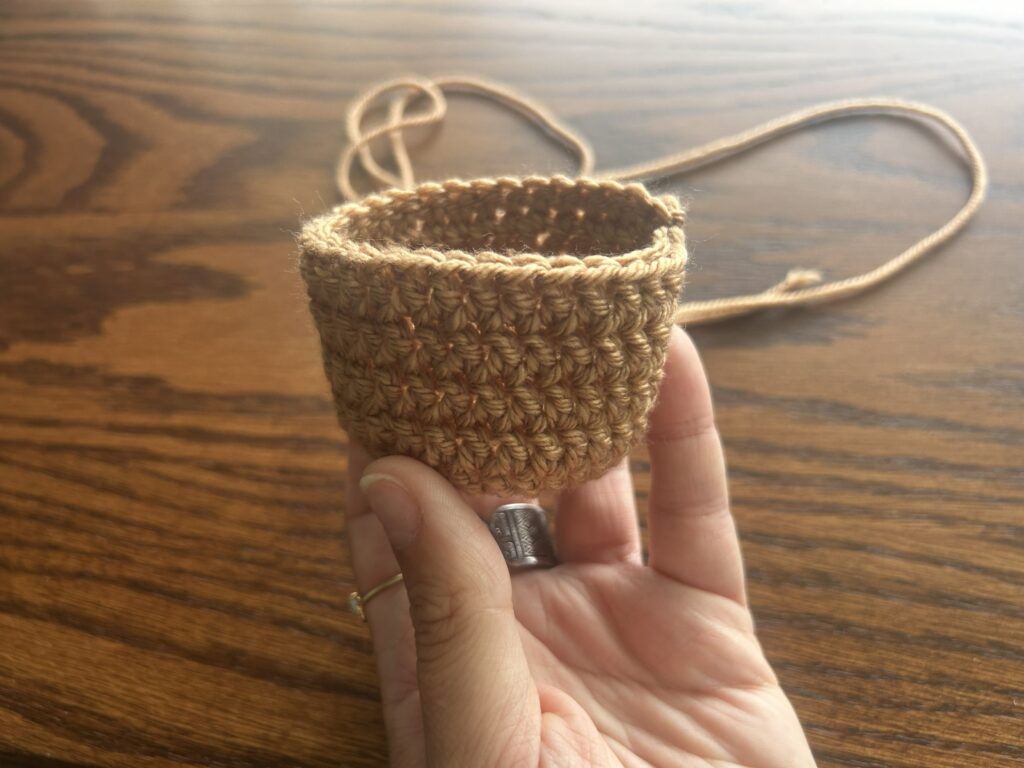
With 150 Toasted Almond yarn color,
Round 1: SC 6 into MR
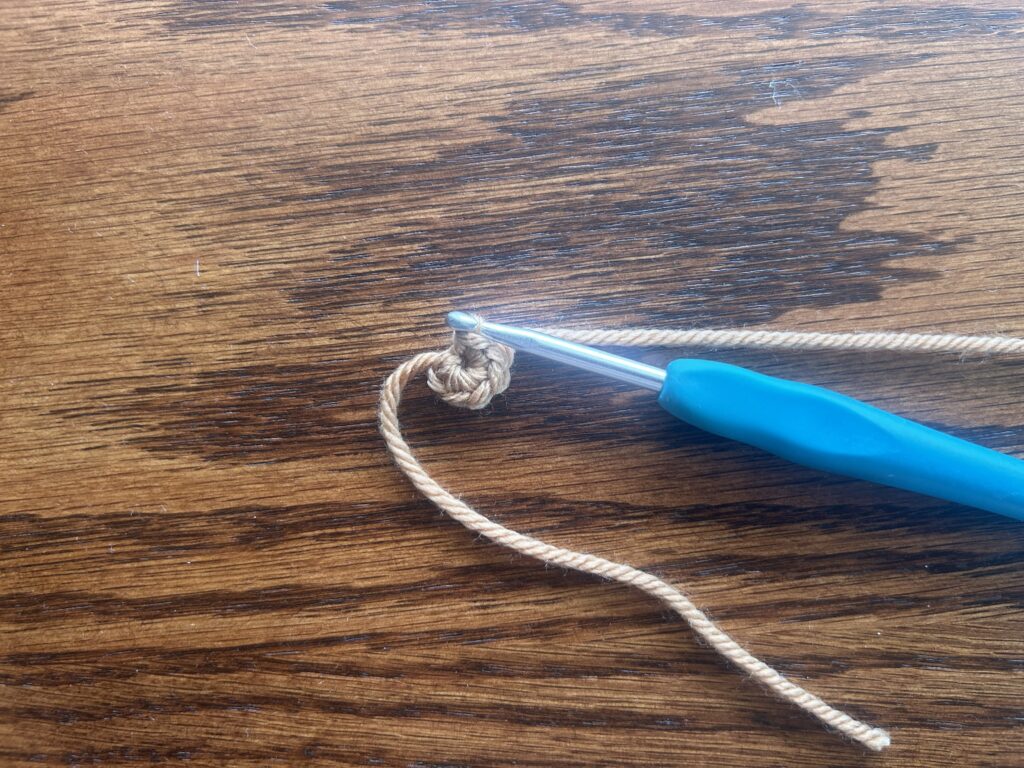
Round 2: (INC)
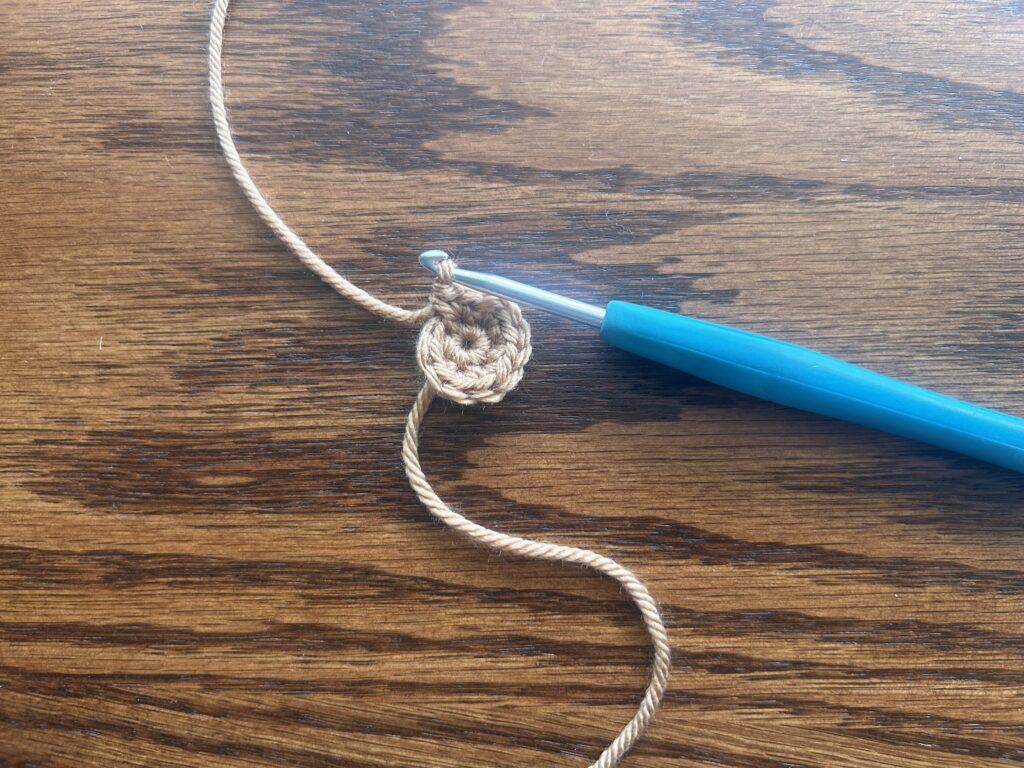
Round 3: (SC 1, INC)
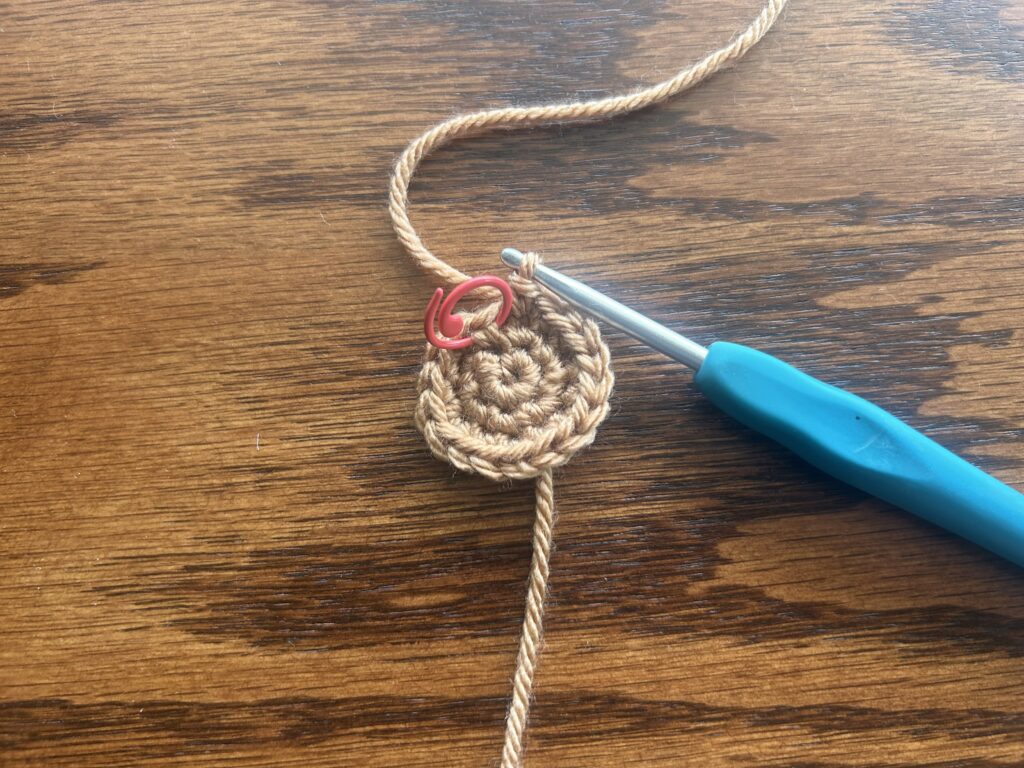
Round 4: SC 1, INC (SC 2, INC) SC 1
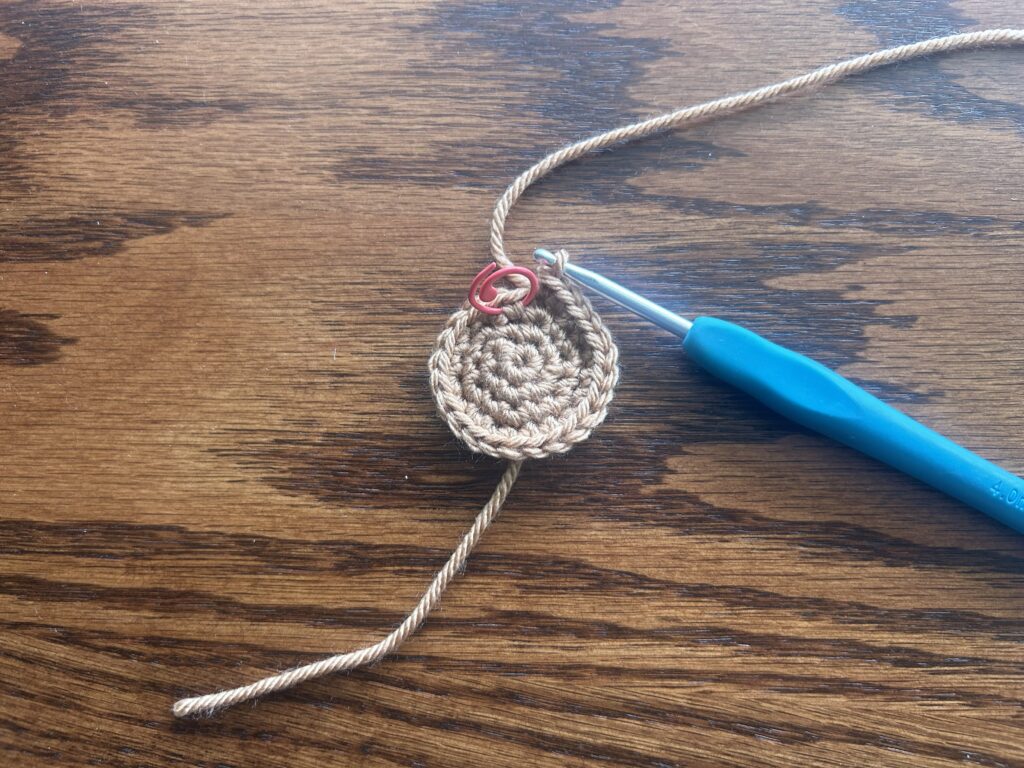
Round 5: (SC 3, INC)
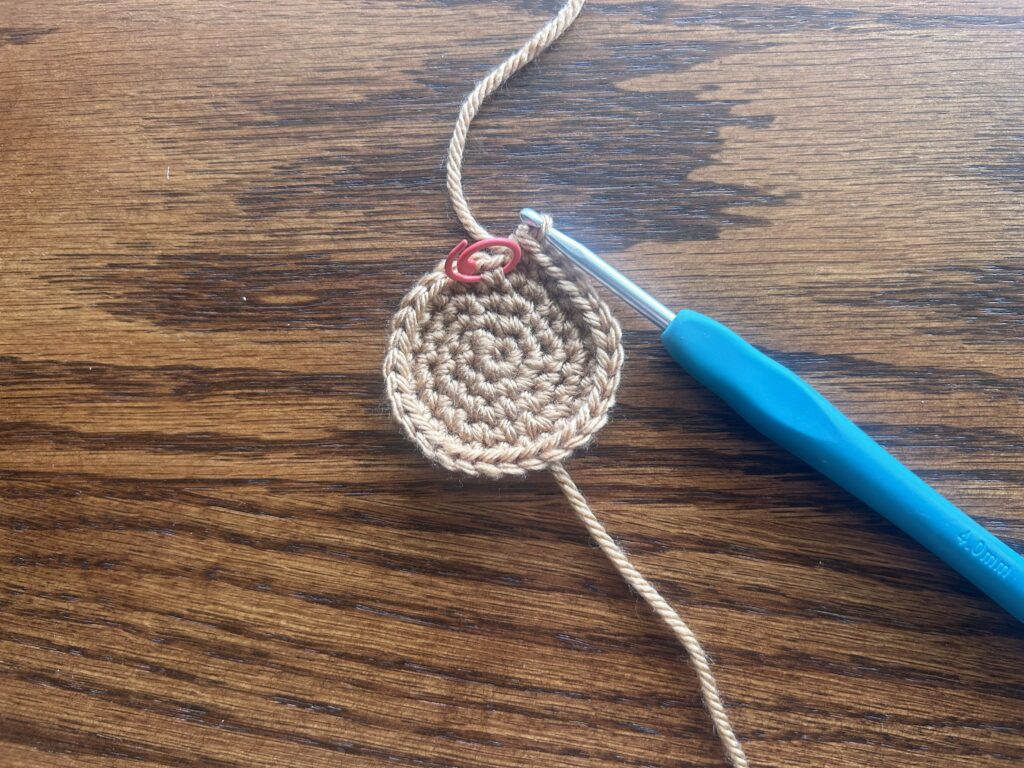
Round 6: DC 30 in BLO
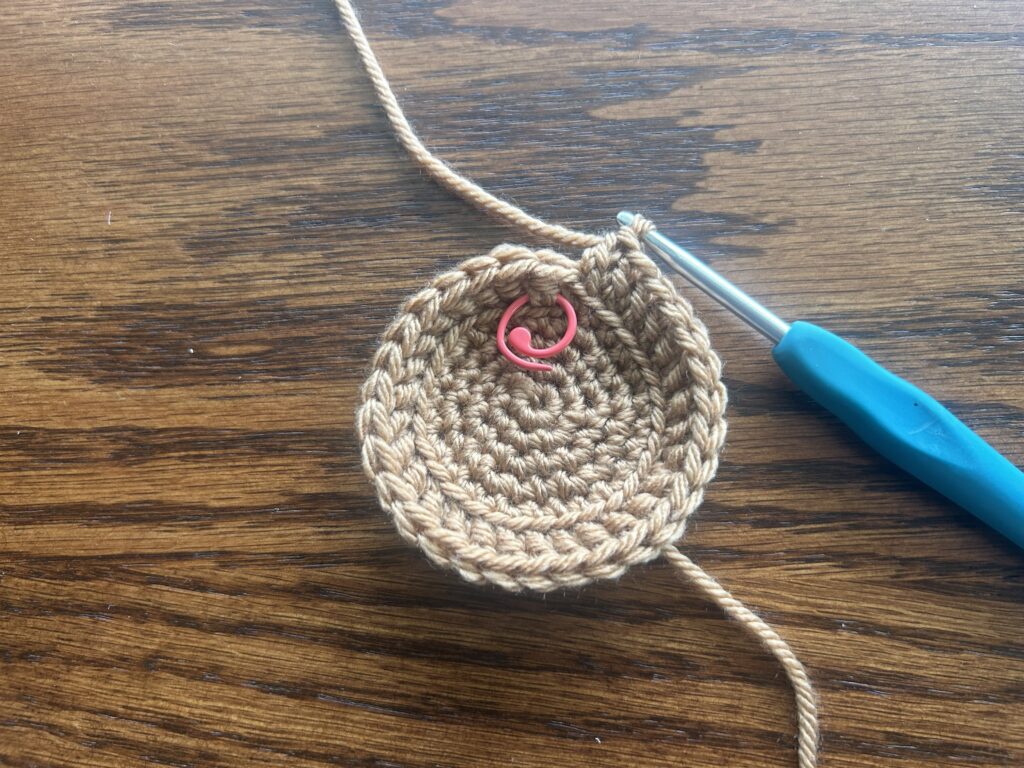
Round 7-10: DC 30
Round 11: SC 1, SLST 1
Tie off by leaving a tail about 36’’
Soil
With 150 Toasted Almond yarn color,
Note that the soil piece is worked just like rounds 1-5 of the pot you made previously.
Round 1: SC 6 into MR
Round 2: (INC)
Round 3: (SC 1, INC)
Round 4: SC 1, INC (SC 2, INC) SC 1
Round 5: (SC 3, INC)
Round 6: SLST 1
Tie off by leaving a tail about 36”
Bulb Strings
With 140 Mild Green,
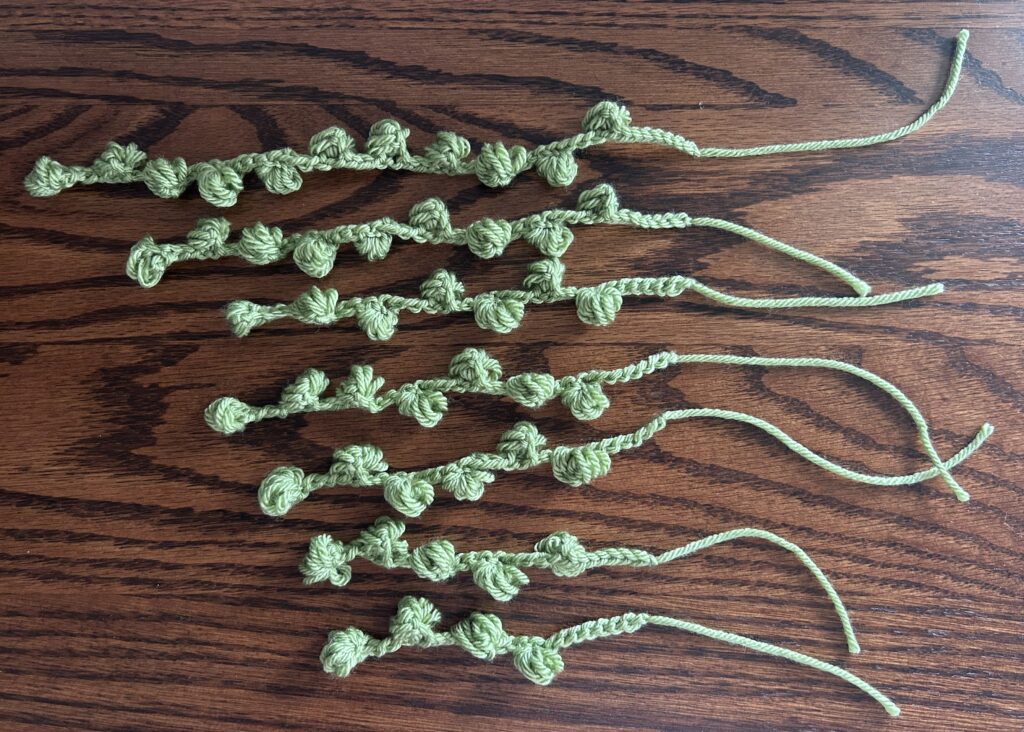
Make slip knot, CH 10, (PUFF STITCH, SC in stitch before the puff stitch, CH 6), repeat until you have the amount of bulbs needed. On the last bulb, tie off after the single crochet and leave a tail about 12” long.
You will make:
7 total strings with bulbs.
1 string with 4 bulbs
1 string with 5 bulbs
1 string with 6 bulbs
2 strings with 7 bulbs
1 string with 9 bulbs
1 string with 11 bulbs
Weave in the tail from the last bulb you tied off on to hide the tail. Leave the tail from the 10 CH.
Assembling
With your 7 Bulb Strings, soil and darning needle,
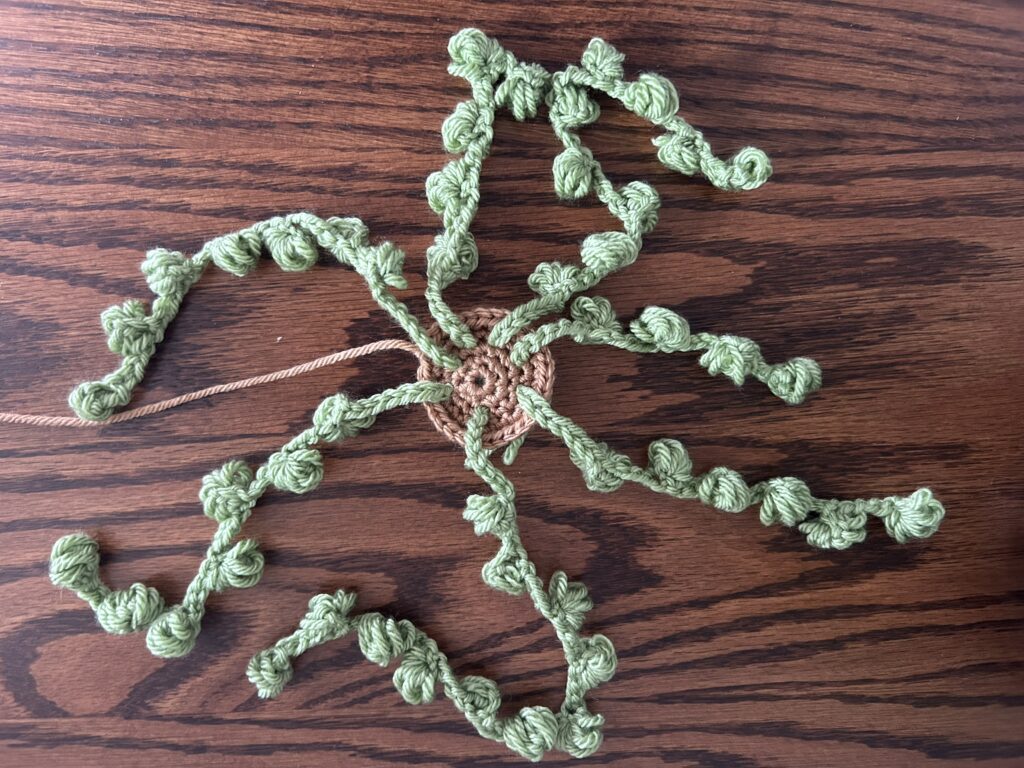
Weave in the tails of the bulb strings from the right side to the wrong side of the soil, staggering the placement of the bulb strings, so they are not lopsided within the soil, but evenly placed.
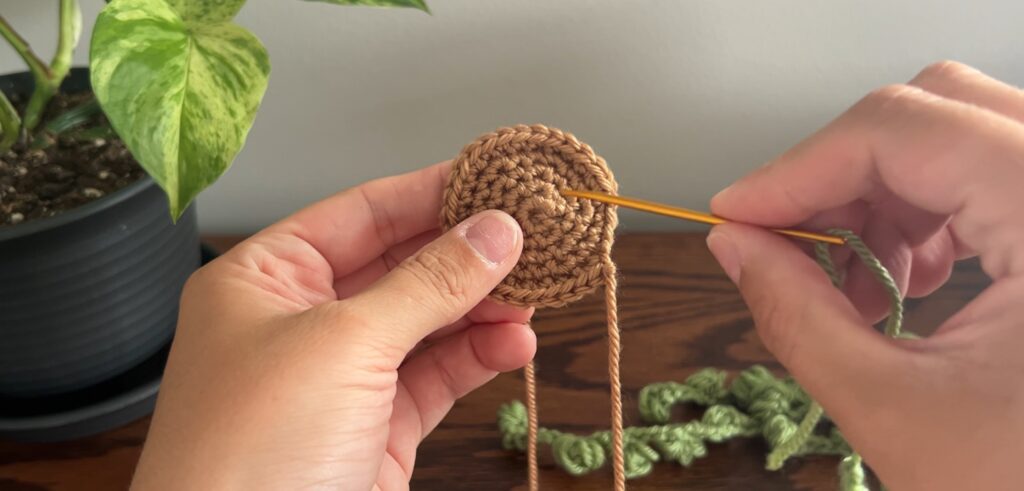
Once the first tail is pulled to the wrong side of the soil, you can tie the end of the bulb string with the tail of the magic ring of the soil together. Repeat this process with tying the strings together along the backside of the soil.
This is what your bulbs attached to the soil piece should look like.
With your soil, plant and pot,
(It may be helpful to watch the video tutorial to see how the edges align)
Line up the edges of the soil with the edges of the pot. Using the string from the pot, use your darning needle to whip stitch around, joining the soil and the pot.
Note photo below shows the whip stitch with the pot and soil without strings attached to limit confusion.
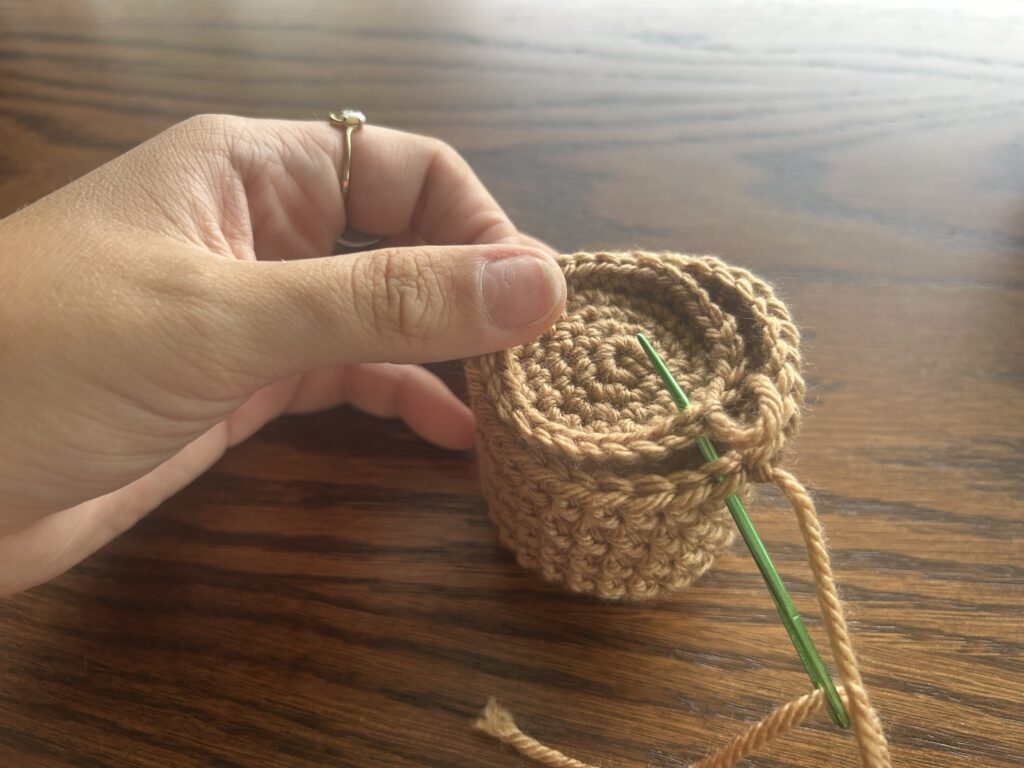
When you have about 8 stitches left, stuff the pot with polyfil to make your desired fullness. Keep working until the end and hide the string that is left in the pot.
Tie off and hide the yarn in the pot.
Macrame Plant Holder
With 10 White,
1. Cut 8 pieces of yarn, 36 inches long
2. Laying the 8, 36’’ long tails together, tie a knot with all 8 pieces of yarn, leaving about ½’’ on the other side of the knot. This will mark the bottom of the holder.
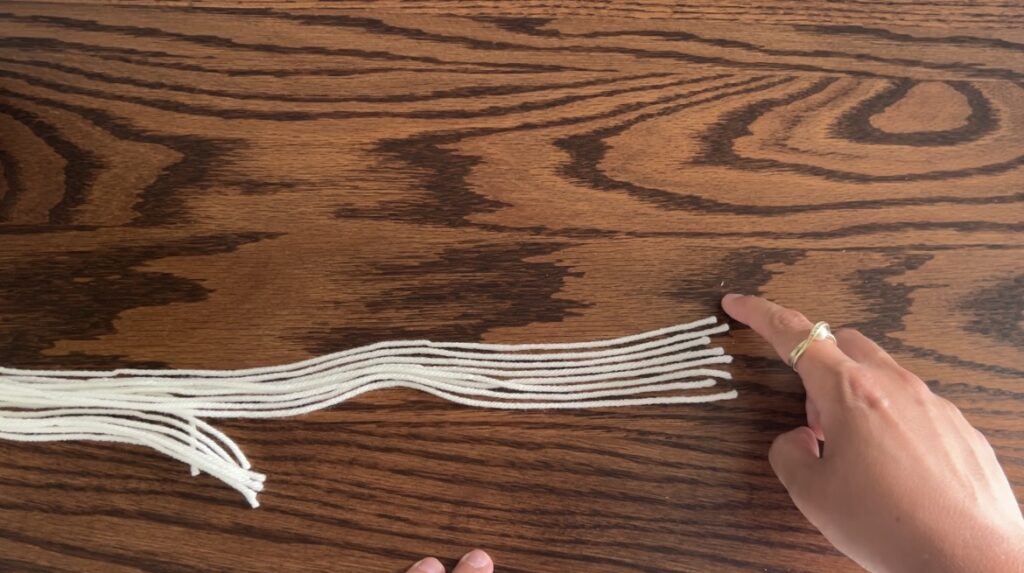
3. Separate 2 strands of yarn together, forming a X with 4 lines of two strands. The knot should be at the intersection of the X
4. About 1 ½’’ from the center knot, make a knot with the two strands, 4 times.
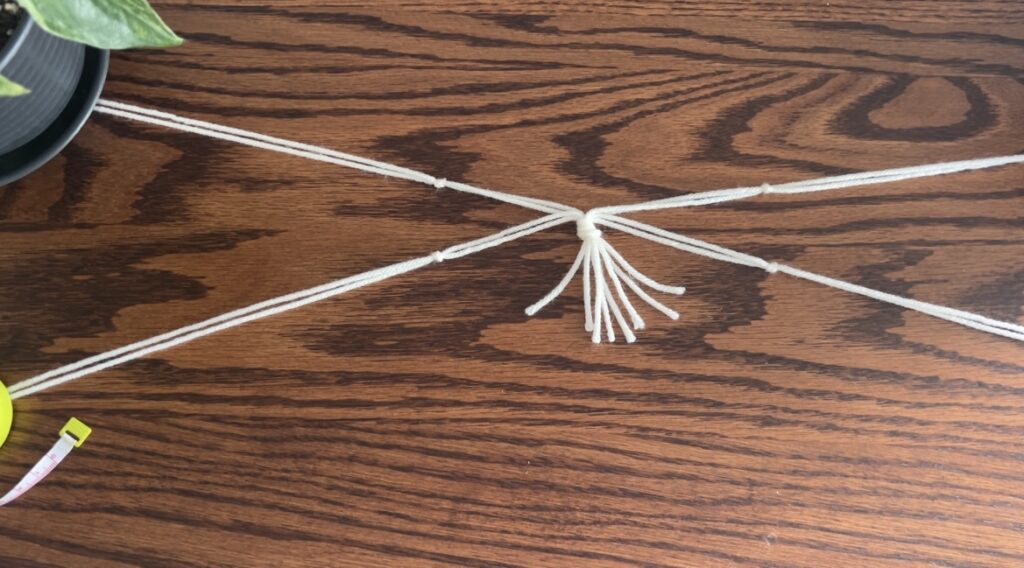
5. Now take one strand from each of the two corresponding knots and place them together. Now take one strand from one knot and one string from the knot next to it and tie them together 1 ½’’ from the previous knot.
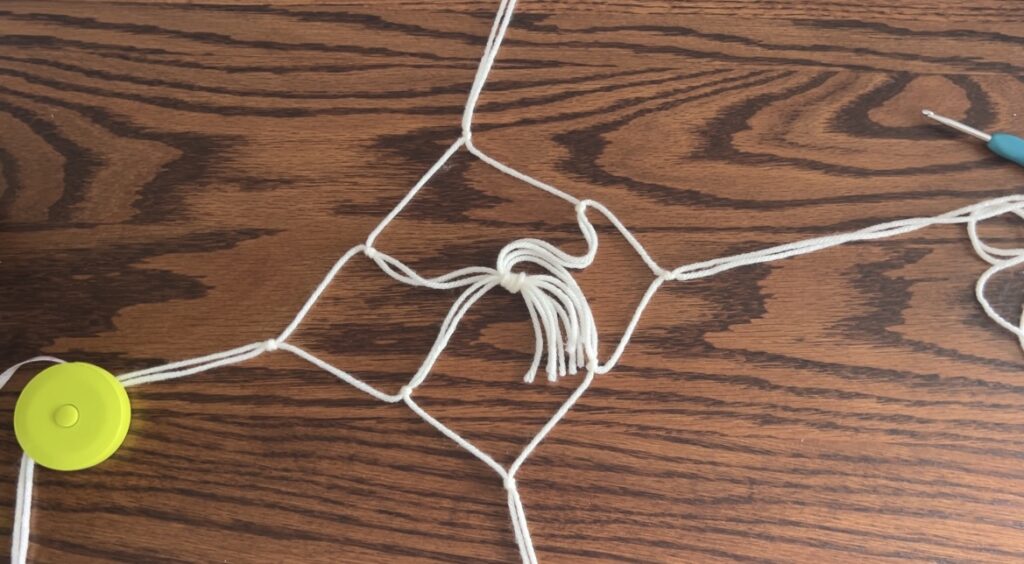
6. With all the strings together, tie a knot at the opposite end of the bottom of the holder, leaving 1’’.
Congratulations!
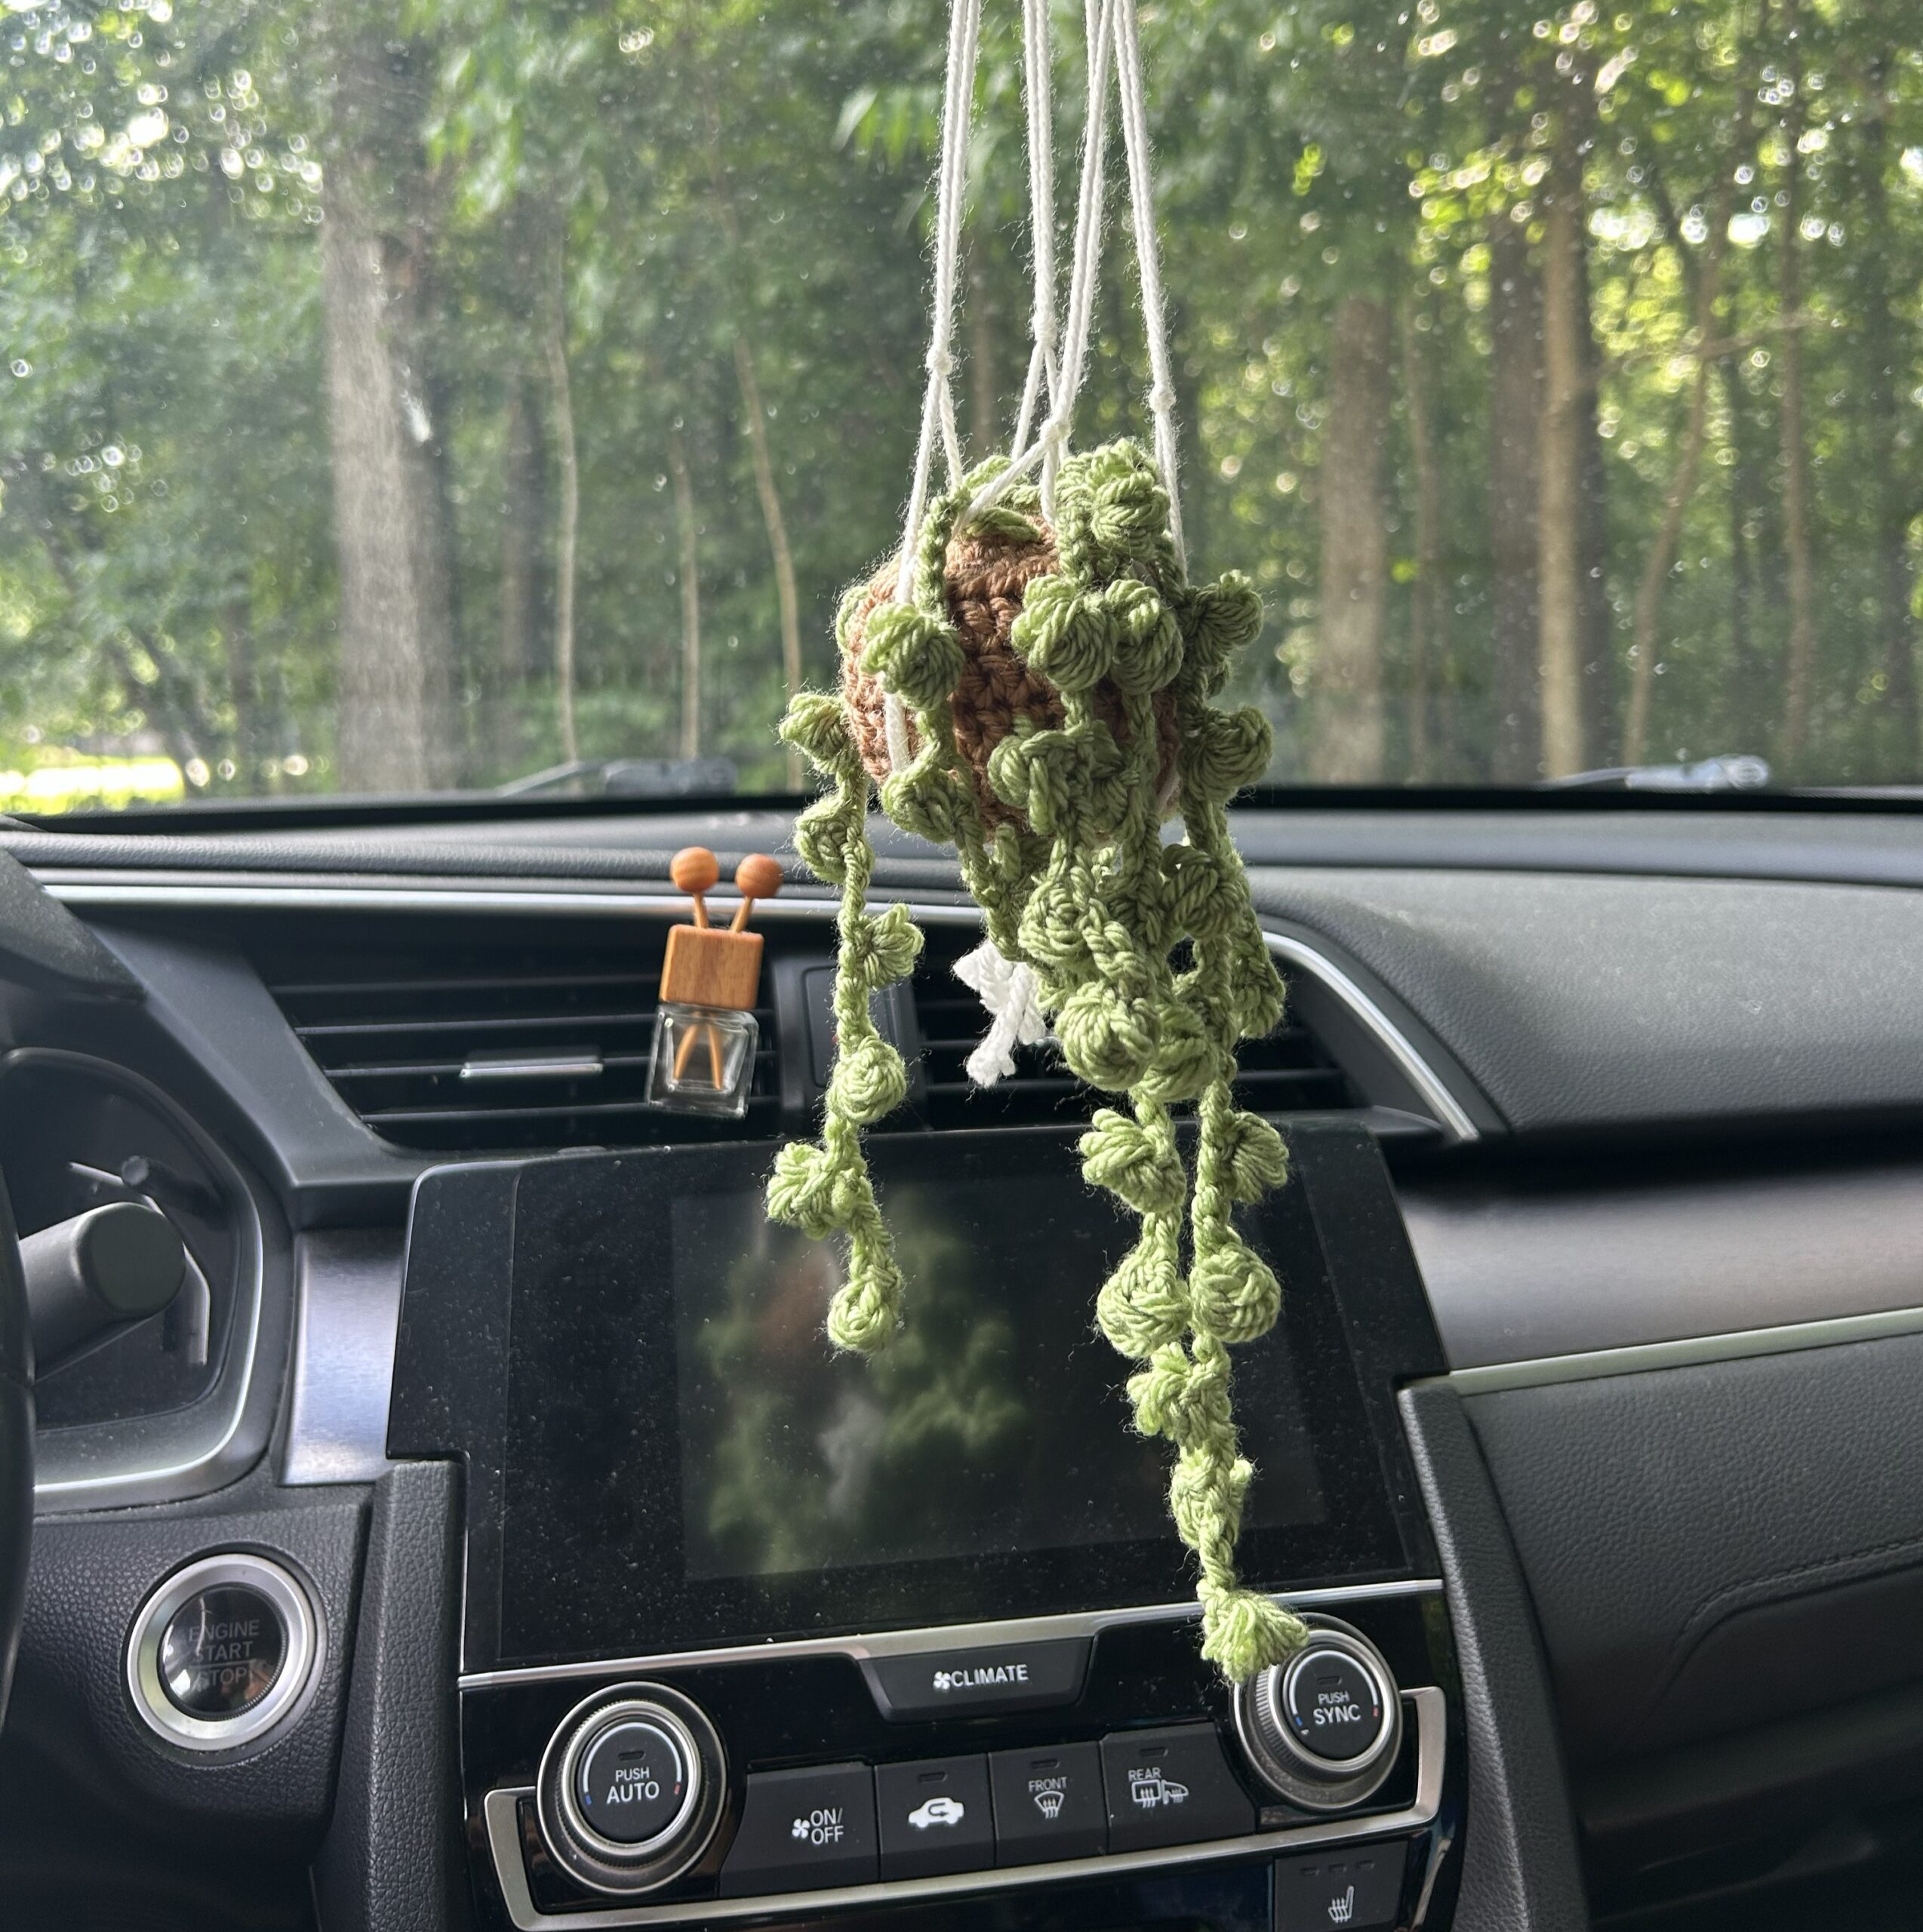
Congratulations! You have finished the crochet string of pearls pattern! I hope you enjoyed this free pattern.
Take a photo and DM or tag me on social media! I want to see your crochet plant!
Instagram: @bycreativestate
Facebook: by Creative State
TikTok: @bycreativestate
Pinterest: @bycreativestate
YouTube: @bycreativestate
Enjoy your crochet string of pearls!